This Disney-inspired Mickey Mouse fabric banner is a fun, easy, no sew project! I am always looking for fun ways to bring Mickey Mouse into my Holiday decor and our city has a 4th of July “Kiddy Parade” where the adults help the kids decorate either their bike, scooter, stroller, wagon, etc. I knew I wanted to add Mickey into the mix of our “Kiddy Parade” décor somehow, so I made a red, white, and blue fabric banner! The Kiddy Parade is judged for creativity, and although we did not win many people commented on our hidden Mickeys!
Supplies:
1/4 Yard of Red Fabric
1/4 Yard of White Fabric
1/4 Yard of Blue Fabric
Twine/String
Rotary Cutter
Step One:
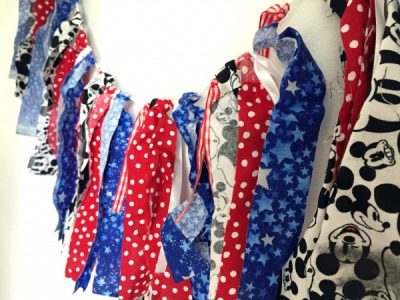
Measure your fabric. I have found that a good width is about two inches wide and about 24 inches long. Once the strips are cut, they will be folded in half, making them about 12 inches long. If these measurements don’t fit in your space, you can cut them, for your specific project to any length. I used three different fabrics to create this banner cutting about 30 strips (10 from each fabric)
Step two:
Fold your fabric strip in half and place the string/twine on top.
Step Three:
Grab the cut end of the strip and bring it through the looped end to create a knot.
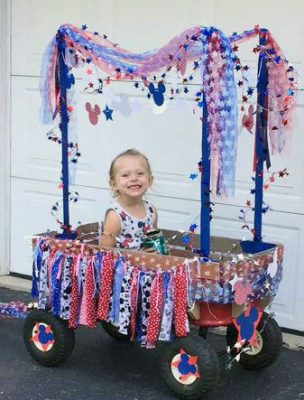
We added some paper Mickeys to the wheels and a paper banner from the canopy. These were all made using a paper cutter, with scrap paper and they added a little extra Mickey flair!
Tell us how you incorporate Mickey into your festive holiday decor! Share in the comments, or on Facebook or Twitter.
Did you like this article? Make sure to share it with your friends! Check below for easy ways to share!
