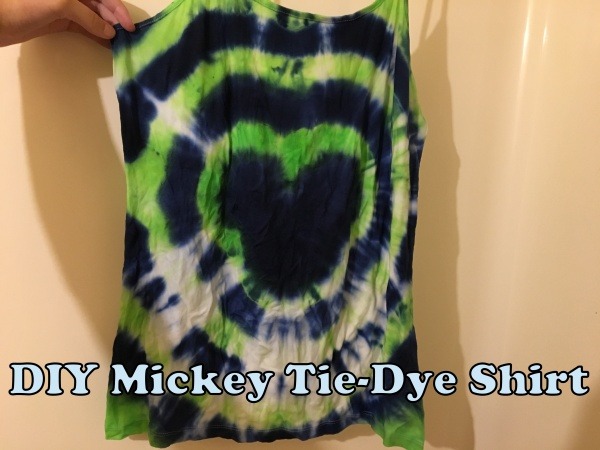
Have you ever thought about making your own DIY Mickey tie-dye shirt? What if I told you it really wasn’t that hard to do?
My daughter and I have made a bunch of DIY Mickey tie-dyed shirts for our upcoming trip. We even made Halloween colored ones to wear to Mickey’s Not-So-Scary-Halloween Party. A little research online, a little tweaking to some methods and we found a way that works great for us.
Here’s what you need to make your own DIY Mickey tie-dye shirt:
A white shirt in the size and style you prefer. The only requirement is that must be mostly cotton. I’ve been able to dye shirts with as low as 40 percent cotton, but I wouldn’t go any lower than that. Shirts that are 100 percent synthetic fabric will NOT work for this.
Fabric dye. We like Tulip brand dye. It comes in convenient squeeze bottles that you mix by adding water. Most craft stores carry it, as does our local Walmart. You can buy individual colors, or if you’re doing several shirts, you can get a tie-dye party kit that includes multiple colors.
Rubber gloves and rubber bands – if they aren’t include in your dye kit.
Some dollar store plastic tablecloths to protect the surface under the shirts.
Plastic wrap.
Gallon zip-top bags or other small plastic bags you can seal the shirt in while the dye sets.
A Mickey head template. Print one out or find something to trace. We conveniently have a Mickey shaped pancake mold that works. Trace it on some paper and cut it out.
Needle and dental floss or heavy-duty thread .
Pencil
Steps:
First, wash the shirts to remove any sizing. The next steps can be done while the shirt is damp.
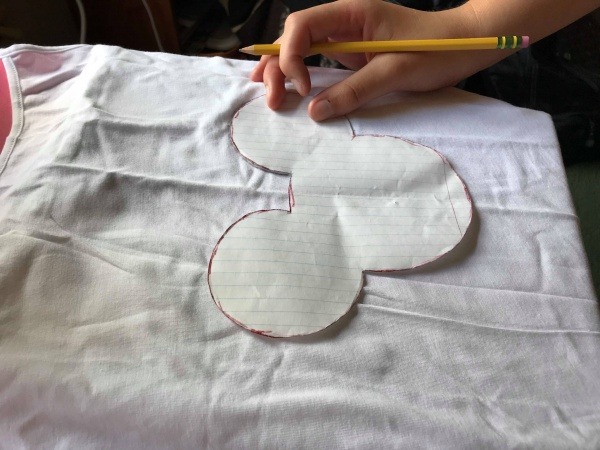
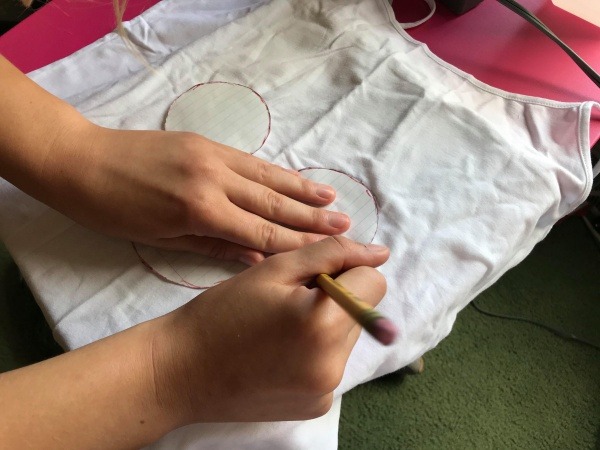
Second, decide where you want Mickey’s head to be and use a pencil to trace the shape onto the shirt. Don’t worry – the pencil will come out in the wash later.
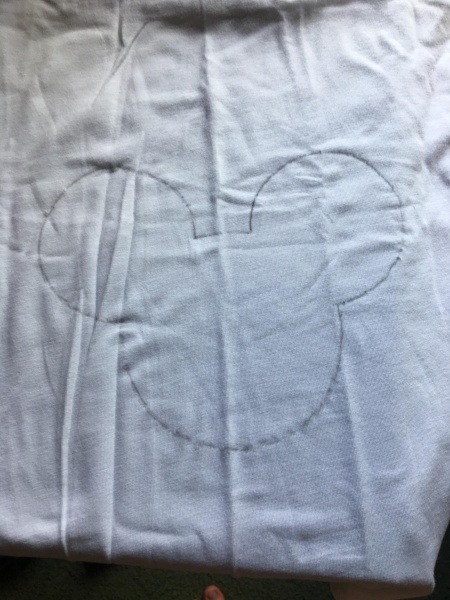
Third, use the needle and dental floss to weave a simple running stich along the line you just traced. If you want Mickey’s head to be on both the front and the back of the shirt, sew through both layers. If you only want it on one side, make sure you only stitch through that side of the shirt. I find it easiest to use a long length of floss for this part and leave a few inches free when I start stitching. Once I make my way all the way around the Mickey, I leave a few inches of floss at the other end. You need these lengths of floss for the next step.
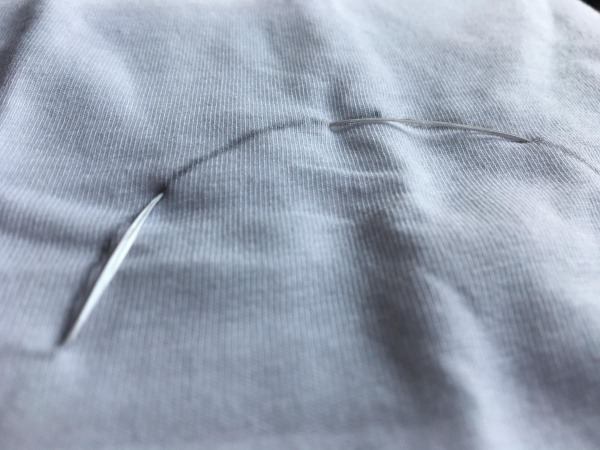
Fourth, grab both ends of the floss and carefully draw them tight. You are basically going to bundle your Mickey up like a little drawstring purse. Once you’ve got it pulled nice and tight, tie the ends of the floss together to hold it.
After that, place your first rubber band around the shirt over top of the drawstring – trying to keep it right on top of the floss and pencil line. This combination is going to keep your dye from spreading out and will help make a recognizable Mickey.
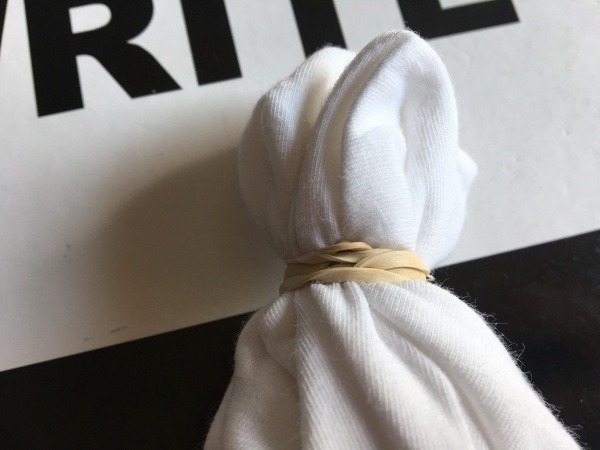
For the next step, get creative and twist the shirt up and place rubber bands to hold the twists. Remember, the rubber bands don’t just hold the shirt. They serve as barriers between the different dye colors. If you want your shirts to all look similar, use the same twisting and rubber band pattern on each shirt.
Use the plastic tablecloth to protect your dying area and follow the package instructions to mix up your dye.
If your shirt isn’t already wet from washing, get it wet now. It seems to take the dye better when wet and is less likely to have the dye bleed from one section to another.
Finally, it’s time to get dying! Once you’ve decided on your color pattern, get your gloves on and start applying the dye. Start with your Mickey after decide what color you want it to be. Finish all sections of each color before moving on to the next. If you like, you can leave some of the sections alone to have more white areas on the shirt. And remember that you want some dye to make its way through all the twists and layers of the shirt to the middle. Don’t be afraid to put the bottle right on the fabric and squeeze some dye in there! Be careful not to drip the dye if you don’t want the colors to mix. If you want a funky pattern, go crazy with the dye and let the colors overlap.
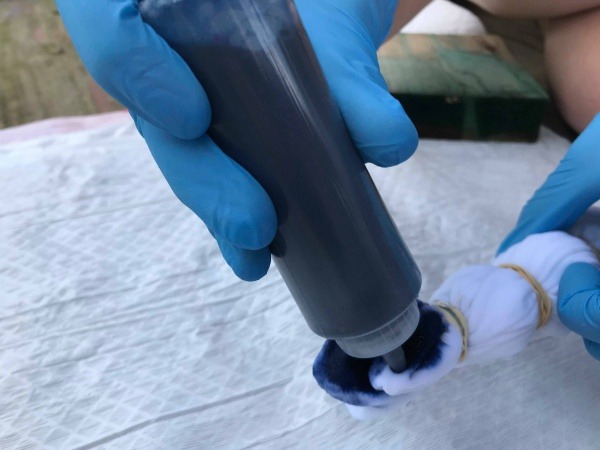
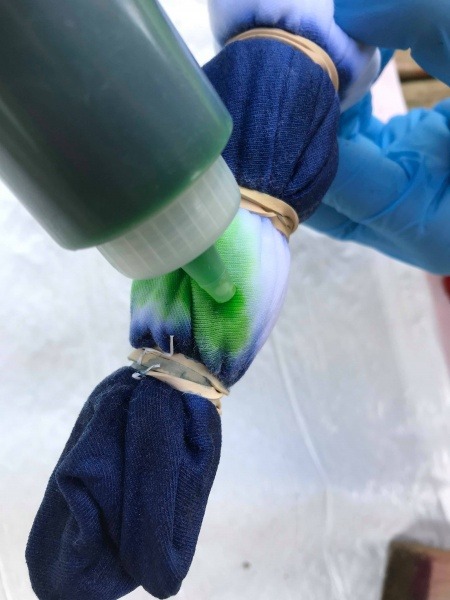
Once you have the shirt dyed the way you like, carefully wrap the shirt tightly in plastic wrap. You can wrap the Mickey part separately. This will keep the different colored areas of the shirt from touching each other while the dye sets. After you wrap the shirt, place it in a zip-top bag and set it aside for at least six hours. The longer it sits, the more the shirt will absorb the die and the more vivid or darker the finished product will be.
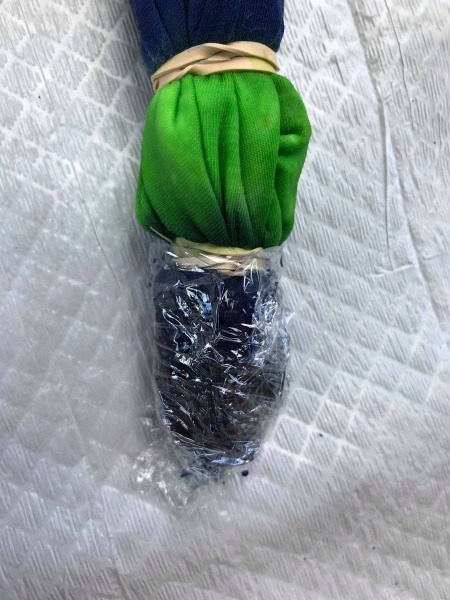
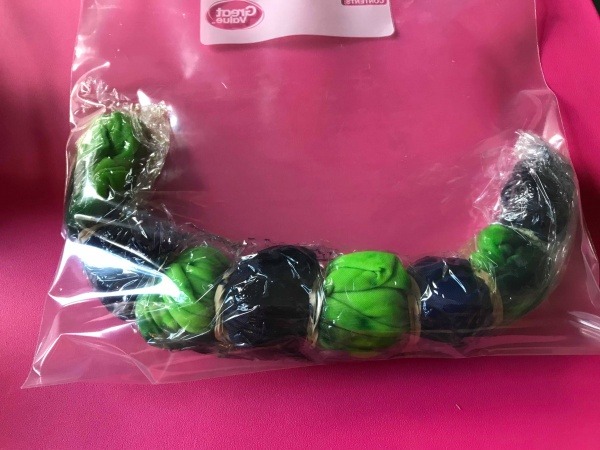
Next, wait at least six hours. Now it’s time to unwrap your shirt and rinse it. I strongly suggest putting gloves back on for this step. Remove the shirt from the bag and remove the plastic wrap from the shirt. Leave the rubber bands in place until the water begins to run clear.
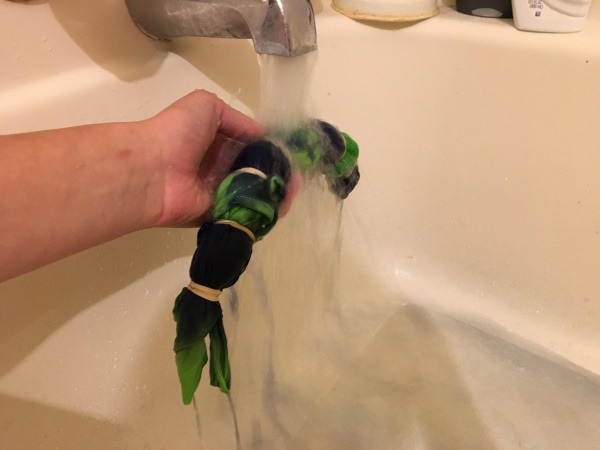
After you have the majority of the dye rinsed out, remove the rubber bands by carefully snipping them with scissors. It’s important to continue rinsing the shirt until the water runs clear. Carefully snip the floss holding the Mickey shape and pull it free.
Voila! Admire your masterpiece.
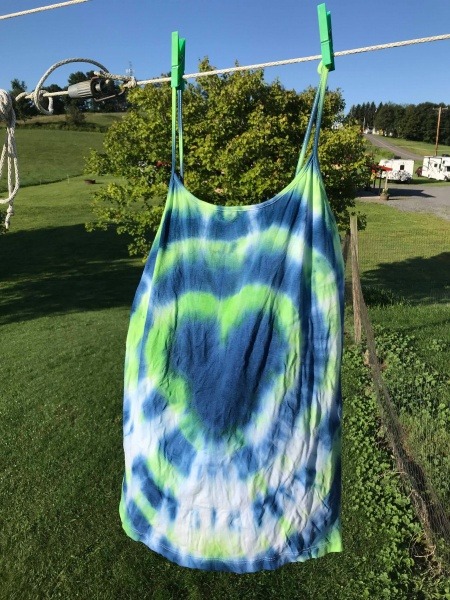
Finally, hang the shirt somewhere to air dry. After they dry, we like to give the shirts a quick wash in the machine just to make extra sure all the dye is gone.
And that’s it! You just created your very own DIY Mickey tie-dye shirt – perfect to wear on your next trip.
Did you like this article? Make sure to share it with your friends! Check below for easy ways to share!
Want to visit the Walt Disney World Resort? Contact The Magic for Less Travel for more information and a free, no-obligation quote.
Incoming search terms:
- https://www themouseforless com/blog_world/diy-mickey-tie-dye-shirt/
- how to tie dye a shamrock on a shirt with dental floss
- how to make mickey tiedye shirr
- mickey mouse tie dye pattern
- Tie dye Mickey head
