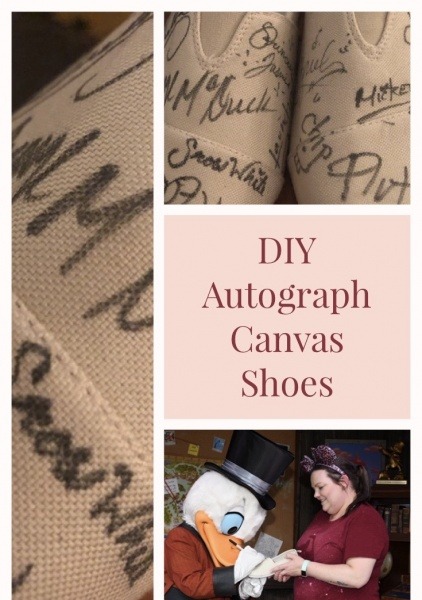
I am a big fan of unique autograph ideas when I travel to Walt Disney World. Meeting the characters is one of my favorite memories from my Disney vacations – I am a big kid at heart! When I know I am meeting a specific characters, such as at a character meal, I usually try to come up with an idea unique to that character for their autograph. For other characters, I still love to have something special to bring back home!
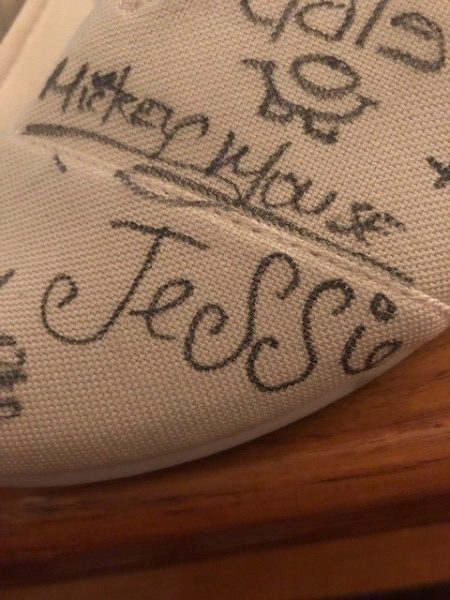
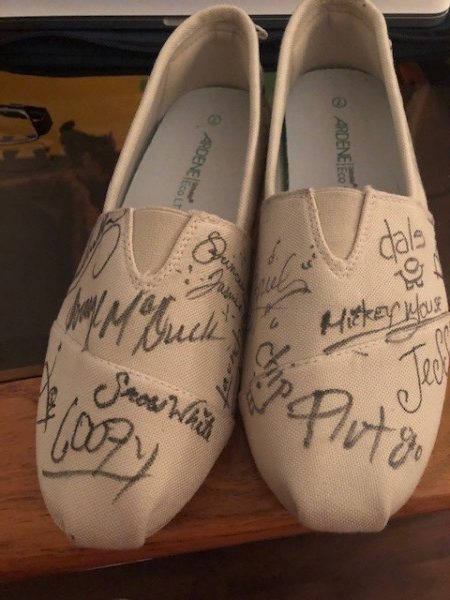
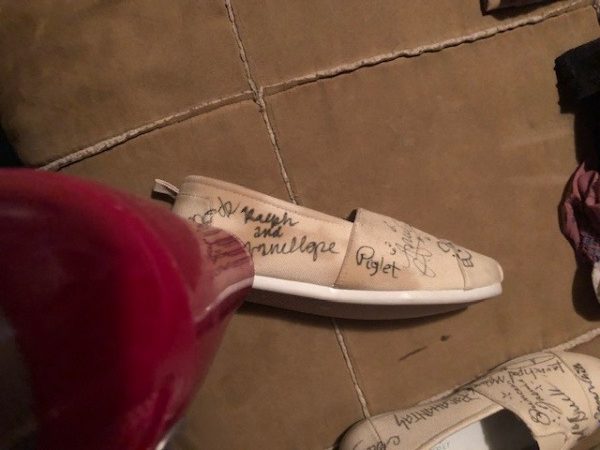
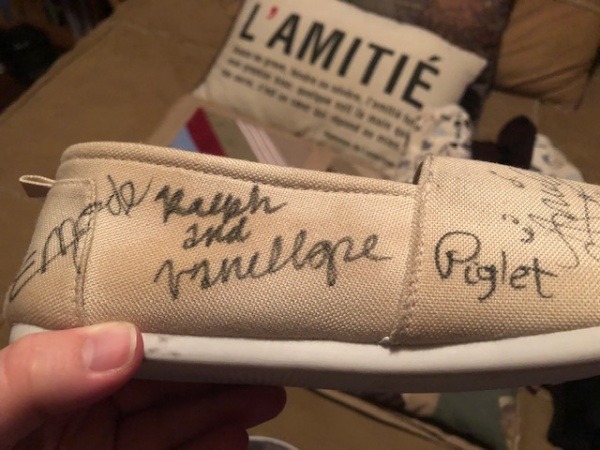
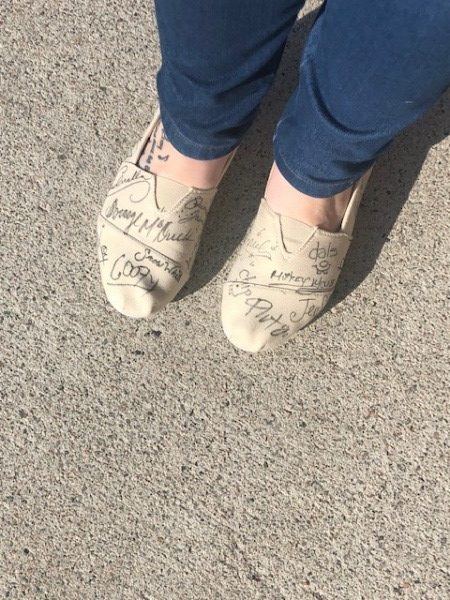
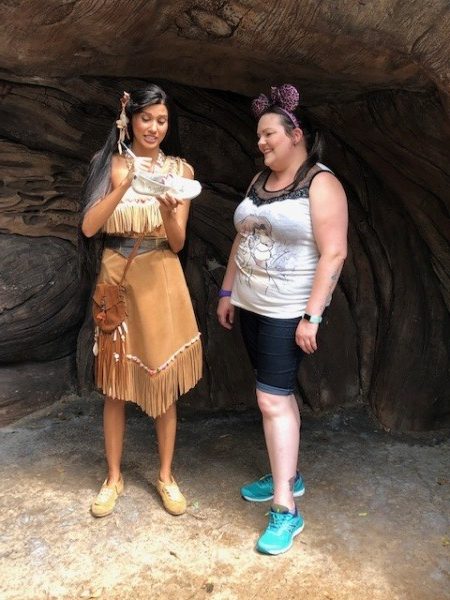
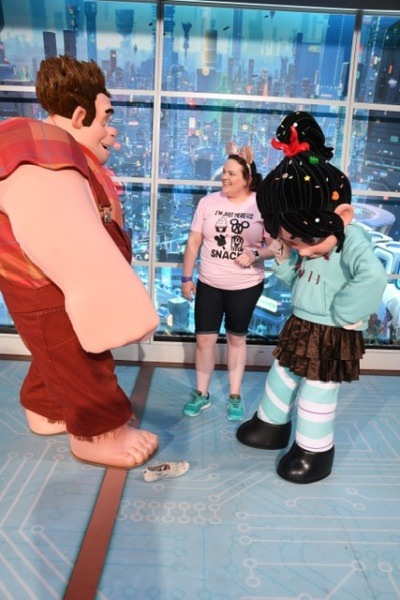
On my recent solo trip to Disney World, I decided to bring along a pair of canvas shoes for characters to sign. They were a big hit with the characters, Cast Members, guests & friends back home!
You will need:
- White or cream colour canvas shoes (I used cream) *You could also use black, with a silver fabric marker!
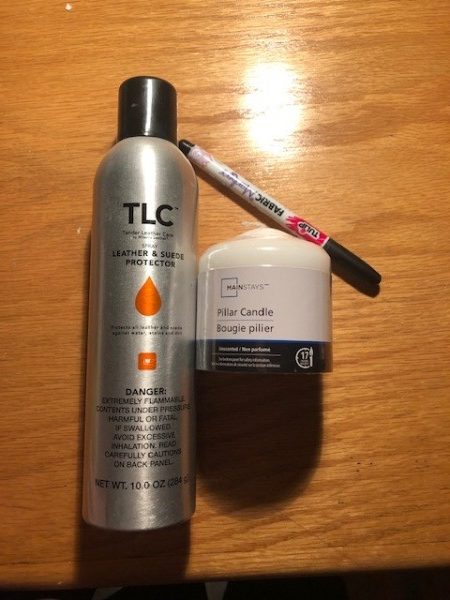
- A fabric marker
- Hair Dryer
- Newspaper
- Shoe Protector Spray
- *Optional: Beeswax
Step One
First, you have to choose what kind of shoe you want to use. You can use a pair of official Toms, or you can do like I did & find a knock off pair for $10. The articles I had read, used a white shoe with multi colored markers. If this is the route you want to take – go for it! I decided to go with a cream-colored shoe with black markers. I liked the vintage look it gives & that it could also match any outfit.
If you want to mix things up a little, you could also do a black or brown shoe with silver markers! I’m not sure how this might turn out, so you might want to test a couple shapes or designs before diving in with autographs.
I did some research on how to protect these prior to doing them on the best way to get a cute, wearable shoe that wouldn’t fade. There was no prep work required with the shoe in terms of any sort of base coat.
What I did do, however, was test a spot on the shoe to see how the marker would work & hold. I initially tried to use a sharpie, because I had some kicking around at home. I drew a Mickey head on the back of the shoe, so it couldn’t easily be seen if it didn’t turn out well. I quickly realized that a standard sharpie would not do the trick. It bled a little & I didn’t want to have to worry about that happening.
I went to my local craft store & purchased a pack of two black fabric markers. I tested again on the back of my shoe, this time with a little Disney star. It turned out perfect! I cleaned up my Mickey & was ready for my autographs.
Step Two
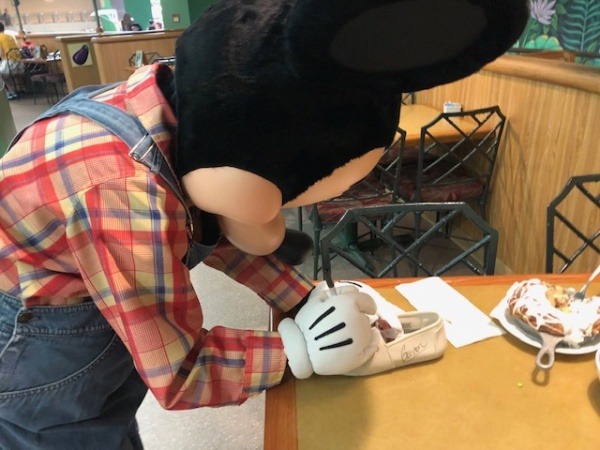
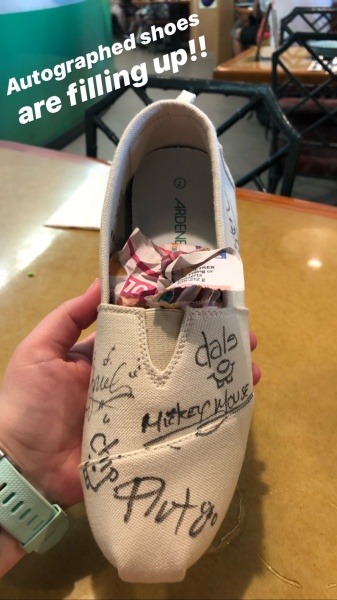
Fill those shoes with autographs on your trip!! I used some newspaper to stuff in the toes, so they had a solid surface to sign. When my shoes started getting a little fuller, I opted to not have characters with those big hands (like Mickey, Donald, etc) sign them, because they have such big signatures & found it difficult to sign with their oversized hands (or paws)! In this case, I would just get princesses, etc. to sign in the smaller empty spaces.
The shoes get filled up pretty quickly, so you may want to consider choosing a theme, such as all princesses, the fab 5 and friends, or all rare characters. I didn’t choose a theme with mine, I just wanted as many as I could get! I did, however, meet a lot of rare characters, so I was sure to include them.
Pro tip: When I got home, there was still some little areas that I thought could’ve used an autograph. I went back through my many character meetings & selected a few character signatures to add myself with the use of google images. I know, I know. It’s cheating. But I did still meet them! I just got crafty with my last 2-3 autographs.
I fit about 12 autographs on each shoe comfortably.
Each night when I got back to the hotel, I used the hair dryer on the autographs for a few minutes. Supposedly this helps the ink settle in the fabric better. When I had all autographs, I did it again. However, I read that it is best to do this as soon as possible after getting the autograph so the ink settles better. You could even make use of a hand dryer in the parks if you really wanted to!
Step Three
I had my autographs & was absolutely in love! I wanted to do some research on the best way to protect them – because of course I had to wear them & show them off! I had read that the best way to protect them was with the beeswax method. I decided to use paraffin wax as some articles had said to do because it was a cheaper option. After just spending a pretty penny on my trip, I didn’t feel like spending $30 on one bar of beeswax at my local craft store & on amazon!
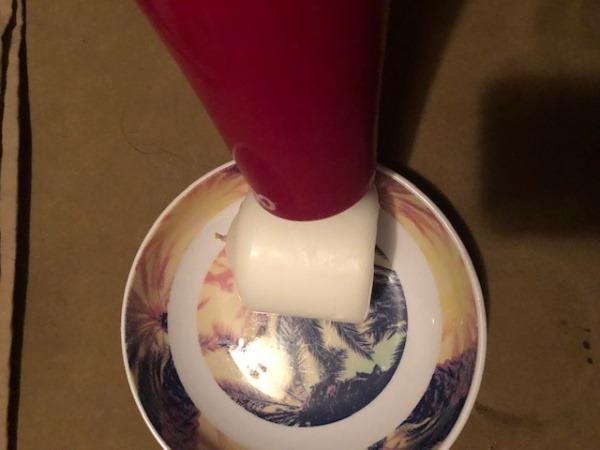
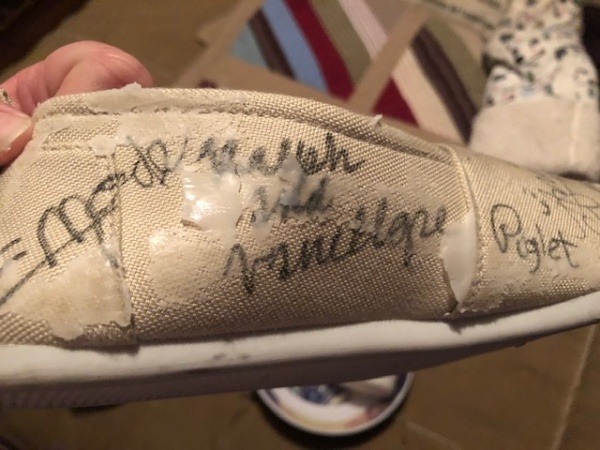
Using a hairdryer, I melted the block of paraffin wax & lightly rubbed it over the autographs, and then used the hairdryer to melt it into the shoe. I did a test area first to see how it would do. I was not happy with the outcome unfortunately, as it created an oily dark residue on the shoe. I was happy I did a test section first!!
I decided to toss the wax and go with plan B – just use a simple shoe protector spray. At the very least, this would protect the shoes from the elements a little bit. Again, I tested a small area first to see how it set. It worked perfect!
Maybe the beeswax would’ve worked better, I’m not sure. Whatever route you choose, make sure you test a small area before doing the whole shoe.
I wear mine all the time! But only when the ground is dry & they can’t get dirty.
There you have it! You can now get some super fun & cute autographs in the parks for you & your family. The characters loved them, and were super interactive. These are quite possibly my favorite autographed item that I’ve done so far & they were the perfect, affordable souvenir!
Have you gotten character autographs on shoes before? What tips do you have? Let us know in the comments or on Facebook or Twitter!
Did you like this article? Make sure to share it with your friends! Check below for easy ways to share!
Want to visit the Walt Disney World Resort? Contact The Magic for Less Travel for more information and a free, no-obligation quote.
Incoming search terms:
- https://www themouseforless com/blog_world/diy-autographs-canvas-shoes/
- how to protect sharpie autograph on shoes
