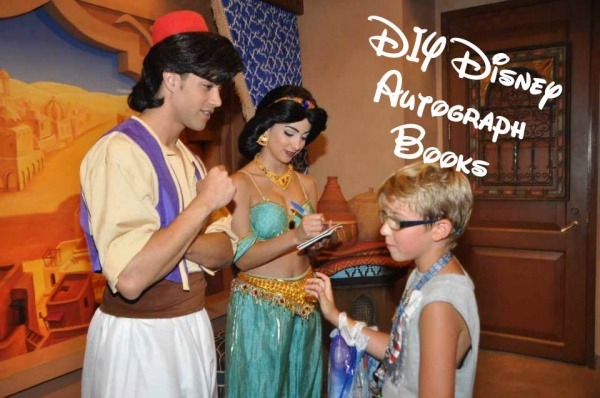
Kids (and adults!) love to get autographs from their favorite characters, and this is an easy DIY Disney autograph book you can make. It’s kind of fun for your kid to have an autograph book personalized for them.
I’ve made these books for two kids for two separate trips. My kids had a blast figuring out what they wanted on their front and back covers. The books are easy to find online or at craft stores. You can lay out the images they pick and print right at home.
What You Need:
Small (around 4×6 inches is a good size) blank spiral bound book. (I use these.)
Selected images, stickers, etc. to personalize
Full single-sheet label paper (so the whole sheet is one giant label)
Clear Contact paper
DIY Disney autograph book instructions
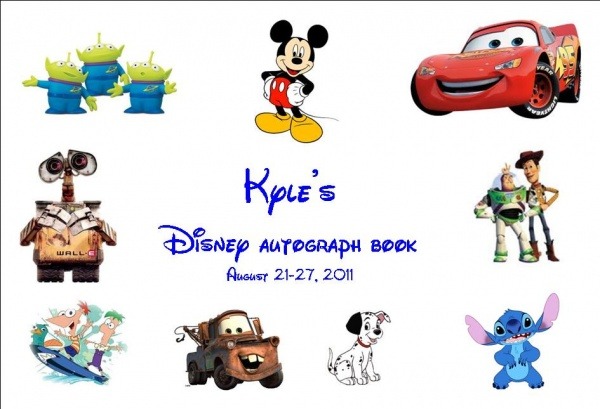
Using your preferred program, arrange the images, etc. you or your child have selected to create the cover art. This should be just a bit smaller than the actual book cover so you can cover it with the Contact paper and get a good seal.
Get creative. We’ve had covers that feature Disney dogs and Disney horses. As the kids got older, some cover designs turned toward Marvel and the Avengers. I found a Disney font online and downloaded it to add that extra Disney touch. Since you’re creating it all yourself, you can add your child’s name, the date of your trip, or whatever you like. I personally love having the date on the book.
Once the design is ready, print it out onto the label paper and trim to fit. Then place it carefully on the front cover. If you like, you can also create a design for the back cover as well.
To protect the image from spills, I use the clear Contact paper on the cover. Next, cut a piece in the shape of the cover, but slightly larger than the cover so the edges can be folded over. I make a diagonal cut at each corner to make it easier to fold the edges. Repeat on the back cover.
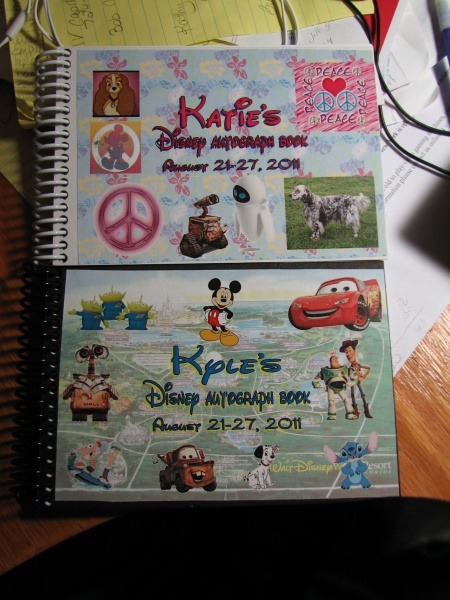
Now, you have a very personalized autograph for your child to fill on your next trip.
Ideas for autographs
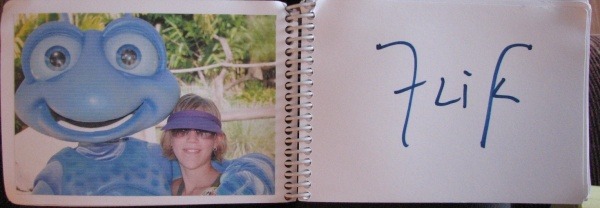
I had my kids leave the first page blank and then get their autographs on the right hand sheets. This took a little maneuvering on my part to open the books to the right page, but it wasn’t hard. Finally, to finish the books after our trip, I printed a 3×5 photo of them meeting that character on that same full sheet label paper. After, I trimmed the photos and stuck them right in the book to the left of the autograph for that character. It makes a super fun keepsake of the exact moment they met Mickey Mouse or whichever character.
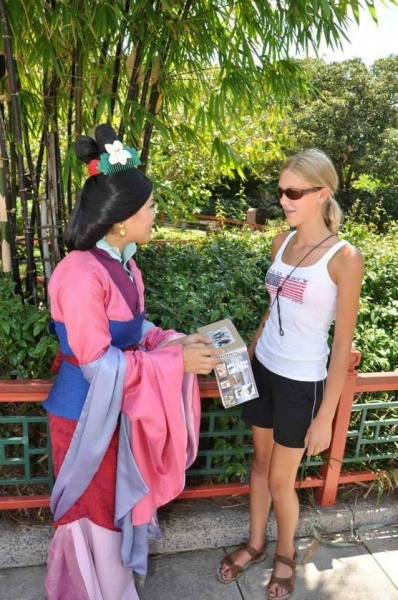
Make sure the characters see your books! This makes for some really fun, usually, interactions. My daughter had a wonderful interaction with Mulan after showing her Khan’s picture on the cover of her book. Mulan told her how all the other Disney horses get so much attention (I’m looking at you Maximus!) and it was so nice to see Khan get a little fan love.
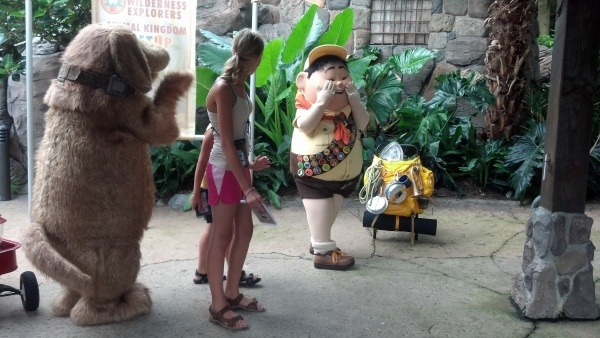
My stepson accidentally made Russell cry after he realized he wasn’t on the cover of our DIY Disney autograph book. This was the Disney dog cover. Dug was there. Russell wasn’t. Have your kids – or you – ever tried to get a character to stop crying? It’s interesting!
However you create or use the autograph book, I think your kids will enjoy having a book uniquely made just for them.
What tips do you have for creating DIY Autograph Books? Let us know in the comments or on Facebook or Twitter!
Did you like this article? Make sure to share it with your friends! Check below for easy ways to share!
Want to visit the Walt Disney World Resort? Contact The Magic for Less Travel for more information and a free, no-obligation quote.
Incoming search terms:
- https://www themouseforless com/blog_world/diy-disney-autograph-book/
- disney autograph book
- diy disney autograph book
- how to make a disney autograph book
- make your own autograph book
