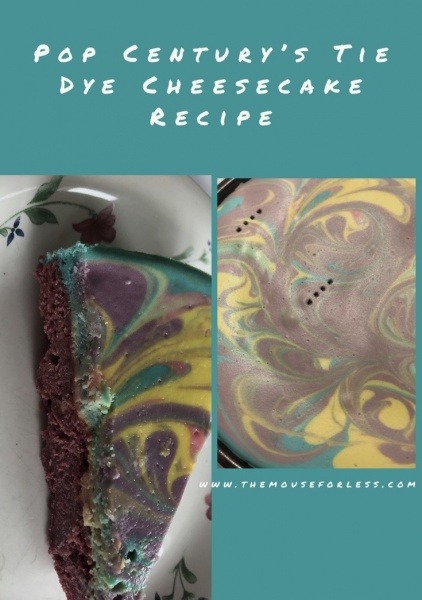
Have you ever had the tie dye cheesecake from Disney’s Pop Century resort? It is a popular item for guests & I even travel to this resort just for this delicious treat!!
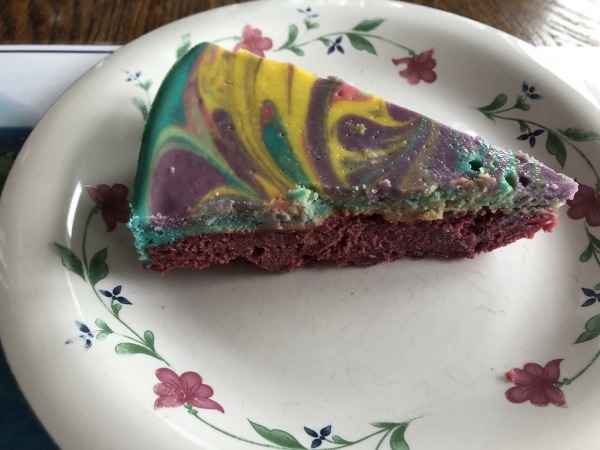
With cheesecake on top, and red velvet cake on bottom, it is a great combination dessert that fills every sweet tooth craving you may have. Let’s chat about how to make this yummy treat at home!
Ingredients
All Ingredients should be room temperature
Red Velvet Cake
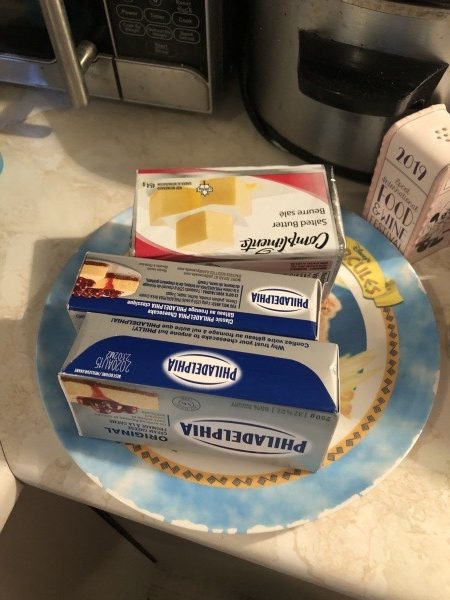
- 1/4 cup butter, softened
- 3/4 cups sugar
- 1 egg
- 1 tablespoons cocoa
- 1 ounce red food coloring
- 1/2 teaspoon vanilla
- 1/2 teaspoon salt
- 1/2 cup buttermilk
- 1 cups flour
- 1/2 tablespoon vinegar
- 1/2 teaspoon baking soda
Cheesecake Filling
- 1 1/2 lb. Cream Cheese
- 1 1/3 C. Sugar
- 5 Large Eggs
- 16 oz. Sour Cream
- 1/4 C. Flour
- 2 tsp. Vanilla
- 2 tsp. Lemon Juice
- Food Coloring
Step One
Preheat oven to 350 deg F. Grease the bottom and sides of a 9″ springform pan. If you don’t have springform pan, you can use a regular circular cake pan. I didn’t have a springform pan on hand, and it worked just fine! If you are using a regular pan, make sure to grease the sides as well.
Step Two
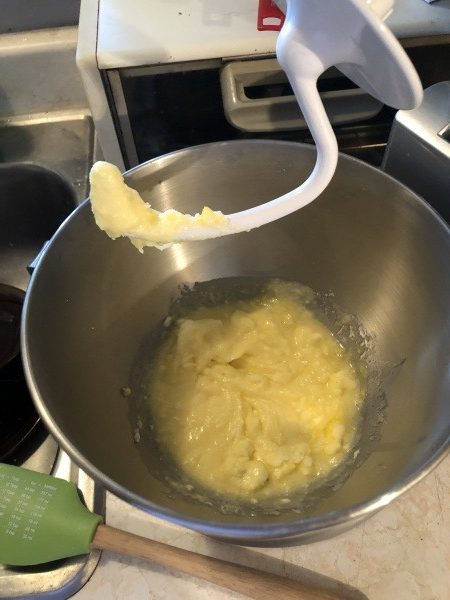
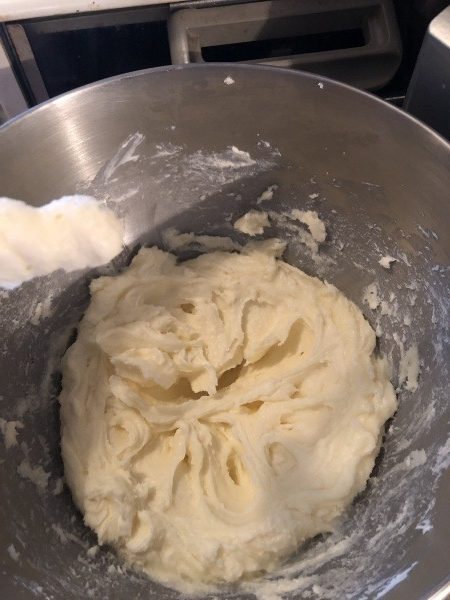
Cream together butter, sugar and eggs.
Step Three
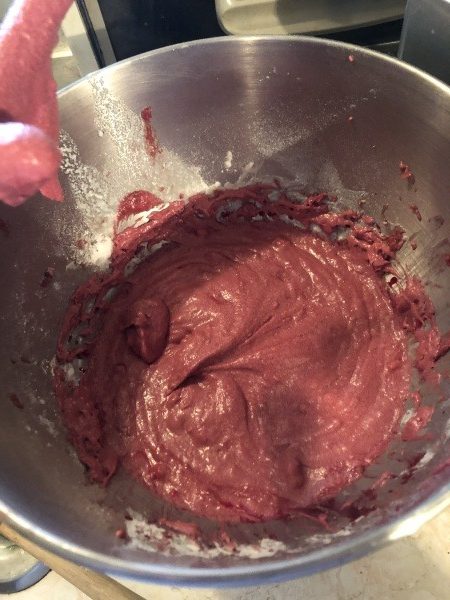
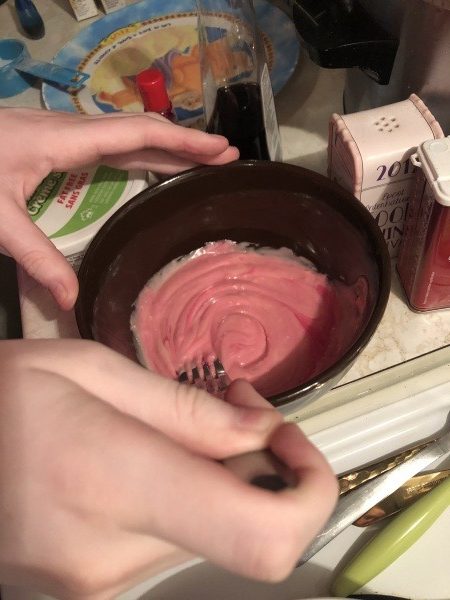
Add in cocoa & food coloring until it becomes red or pink in color.
Step Four
Mix salt and vanilla in buttermilk and add with the flour – one cup at a time. If you do not have buttermilk, you can separately make buttermilk with equal parts regular milk & vinegar. Leave until it curdles a little bit, and voila! Buttermilk. Once the buttermilk forms, add it to the mixture.
Step Five
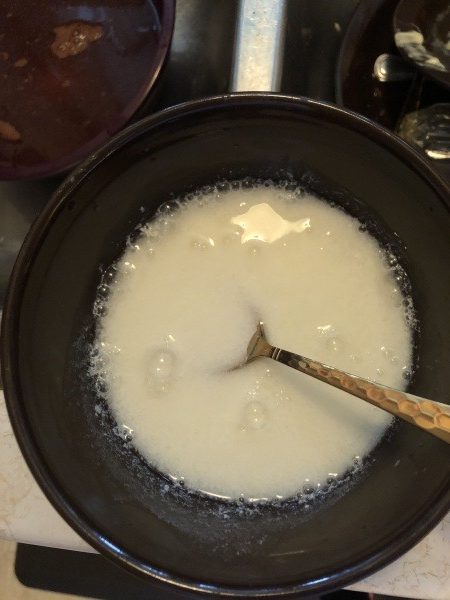
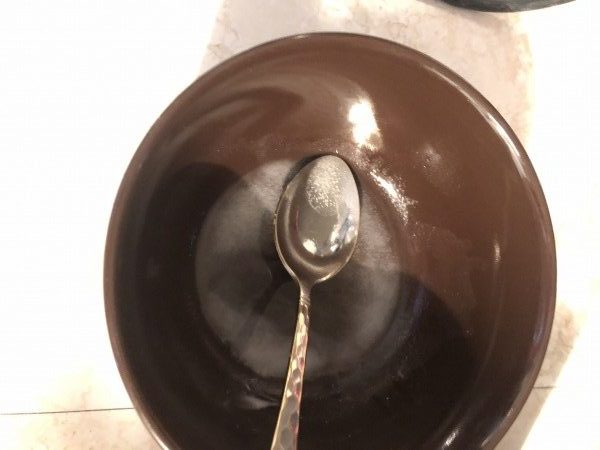
Mix baking soda and vinegar separately. Do not beat after adding this mixture. Simply pour on top of the batter.
Step Six
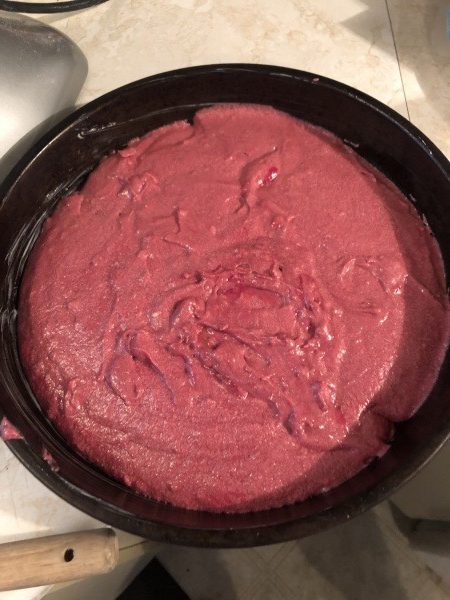
Pour batter into your greased regular or springform pan. Bake at 350 degrees for 20-30 minutes or until there are no crumbs on your tester stick.
Step Seven
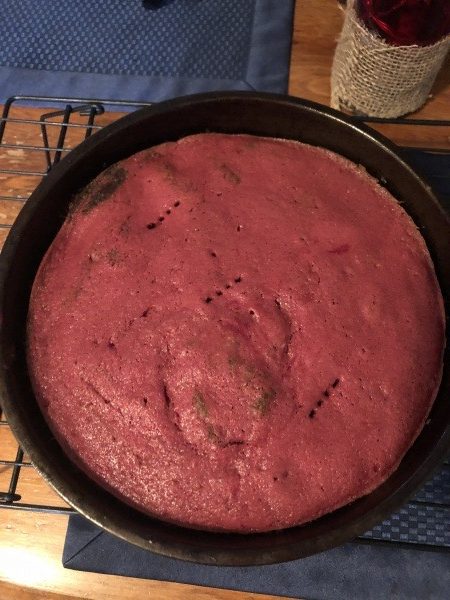
Cool cake in pan. Lower oven temperature to 325 deg F.
Step Eight
Beat the cream cheese until light and fluffy.
Step Nine
Add the sugar a little at a time and continue beating until it is creamy and free of lumps.
Step Ten
Add one egg at a time, mixing after each egg.
Step Eleven
When eggs have been thoroughly mixed into the cream cheese add flour, vanilla and lemon juice, mix well.
Step Twelve
Add sour cream and beat well.
Step Thirteen
Divide the cheesecake batter into a bowl for each food coloring color you have. Ideally, you should have the below colors. If you don’t have them, and don’t have the proper colors to mix, any fun color will do the trick! Mix the colors with the cheesecake mixture thoroughly.
- Purple
- Red
- Yellow
- Light blue
- Green
- Orange
Step Fourteen
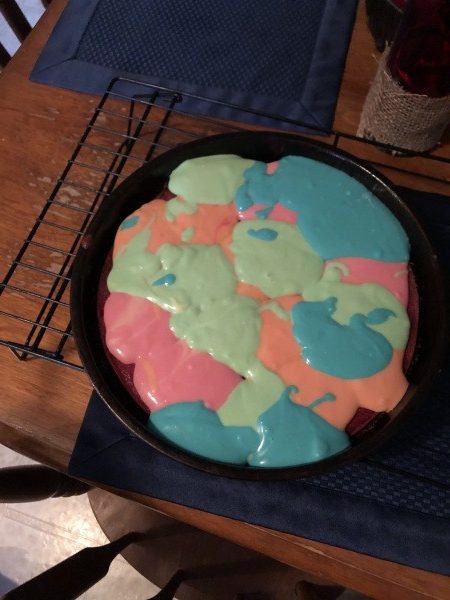
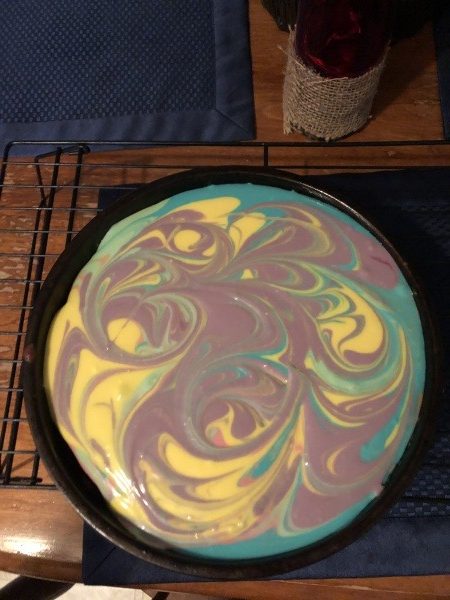
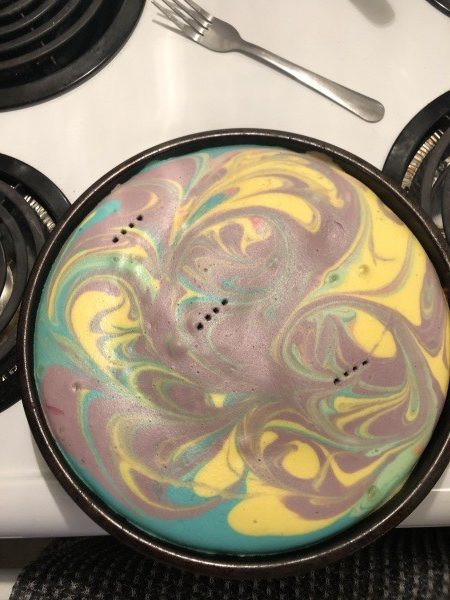
Drop large spoonfuls of the colored batters randomly on the red velvet cake in the pan. Swirl each layer slightly using a toothpick or fork.
Step Fifteen
Place on the top rack in the middle of the oven. Cook for 45-60 minutes.
Step Sixteen
When time is up, prop open oven door and leave in oven for one hour. After one hour, remove from oven. Let cool enough before the cheesecake is put into the refrigerator for 2-4 hours.
Delicious! My tie dye cheesecake turned out almost perfect. I read the flour ingredient for the cheesecake incorrectly, so the cheesecake topping was not as fluffy & cheesey as it was supposed to be. However, my family & I thoroughly enjoyed it! It brought me right back to staying at Pop Century resort, and looking forward to my 2021 trip!!! Make your tie dye cheesecake today.
Pop Century's Tie Dye Cheesecake
Ingredients
- 1/4 cup butter softened
- 3/4 cups sugar
- 1 egg
- 1 tablespoons cocoa
- 1 ounce red food coloring
- 1/2 teaspoon vanilla
- 1/2 teaspoon salt
- 1/2 cup buttermilk
- 1 cups flour
- 1/2 tablespoon vinegar
- 1/2 teaspoon baking soda
- 1 1/2 lb. Cream Cheese
- 1 1/3 C. Sugar
- 5 Large Eggs
- 16 oz. Sour Cream
- 1/4 C. Flour
- 2 tsp. Vanilla
- 2 tsp. Lemon Juice
- Food Coloring
Instructions
- Step One
- Preheat oven to 350 deg F. Grease the bottom and sides of a 9" springform pan. If you don’t have springform pan, you can use a regular circular cake pan. I didn’t have a springform pan on hand, and it worked just fine! If you are using a regular pan, make sure to grease the sides as well.
- Step Two
- Cream together butter, sugar and eggs.
- Step Three
- Add in cocoa & food colouring until it becomes red or pink in colour.
- Step Four
- Mix salt and vanilla in buttermilk and add with the flour - one cup at a time. If you do not have buttermilk, you can separately make buttermilk with equal parts regular milk & vinegar. Leave until it curdles a little bit, and voila! Buttermilk. Once the buttermilk forms, add it to the mixture.
- Step Five
- Mix soda and vinegar separately. Do not beat after adding this mixture. Simply pour on top of the batter.
- Step Six
- Pour batter into your greased regular or springform pan. Bake at 350 degrees for 20-30 minutes or until there are no crumbs on your tester stick.
- Step Seven
- Cool cake in pan. Lower oven temperature to 325 deg F.
- Step Eight
- Beat the cream cheese until light and fluffy.
- Step Nine
- Add the sugar a little at a time and continue beating until it is creamy and free of lumps.
- Step Ten
- Add one egg at a time, mixing after each egg.
- Step Eleven
- When eggs have been thoroughly mixed into the cream cheese add flour, vanilla and lemon juice, mix well.
- Step Twelve
- Add sour cream and beat well.
- Step Thirteen
- Divide the cheesecake batter into a bowl for each food colouring colour you have. Ideally, you should have the below colours. If you don’t have them, and don’t have the proper colours to mix, any fun colour will do the trick! Mix the colours with the cheesecake mixture thoroughly.
- Purple
- Red
- Yellow
- Light blue
- Green
- Orange
- Step Fourteen
- Drop large spoonfuls of the colored batters randomly on the red velvet cake in the pan. Swirl each layer slightly using a toothpick or fork.
- Step Fifteen
- Place on the top rack in the middle of the oven. Cook for 45-60 minutes.
- Step Sixteen
- When time is up, prop open oven door and leave in oven for one hour. After one hour, remove from oven. Let cool enough before the cheesecake is put into the refrigerator for 2-4 hours.
Notes
Have you had the tie dye cheesecake from Disney’s Pop Century before? Is it a must get for you? Let us know in the comments, or on Facebook or Twitter!
Did you like this article? Make sure to share it with your friends! Check below for easy ways to share!
Want to visit a Disney Destination? Contact The Magic for Less Travel for more information and a free, no-obligation quote.
Incoming search terms:
- https://www themouseforless com/blog_world/pop-centurys-tie-dye-cheesecake-recipe/
- tie dye red velvet cheesecake
