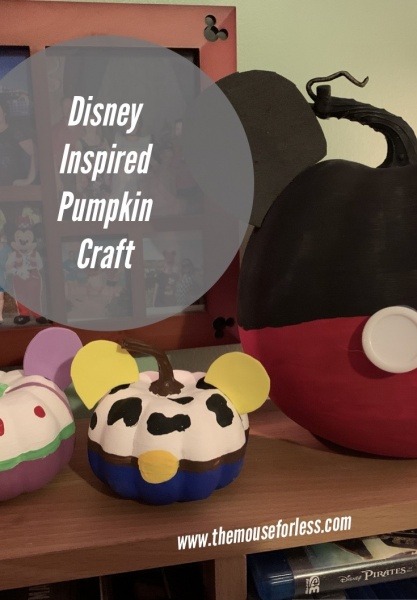
It’s spooky season! Why not have a fun craft night making some pumpkins extra magical? This is a great activity for the whole family, a date night, or just yourself!
This craft started out as just making a Mickey pumpkin, but I decided to expand my creativity and do a little Buzz & Woody theme as well! Steps are more or less the same for each character.
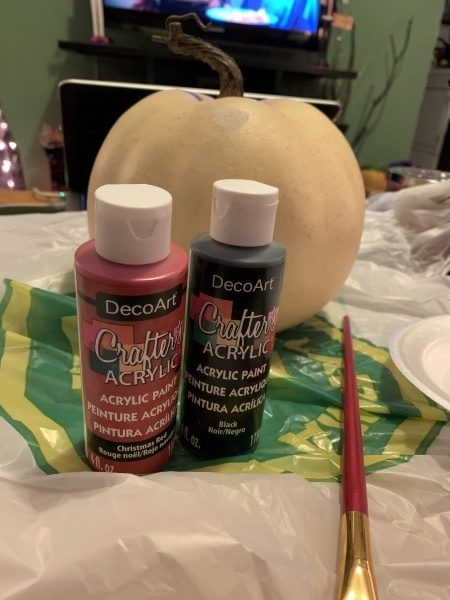
What You’ll Need
- Foam craft pumpkins
- Paint colors of choice
- Buttons
- Wire
- Foam sheets
- Paint brushes
- Hot glue gun
- Scissors
- Hairdryer
Step One
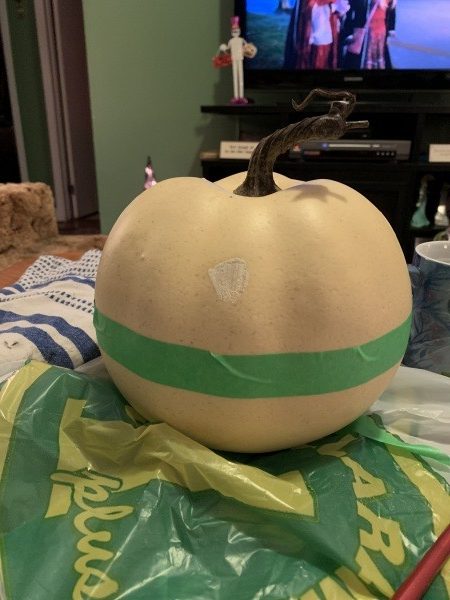
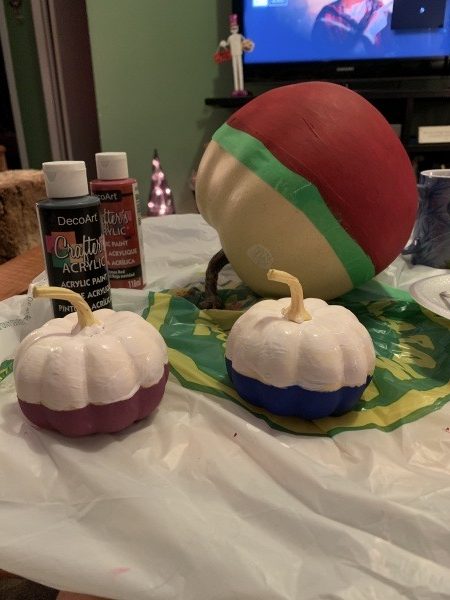
Put painters tape on the middle of the pumpkin so it is split in half for your colors.
Step Two
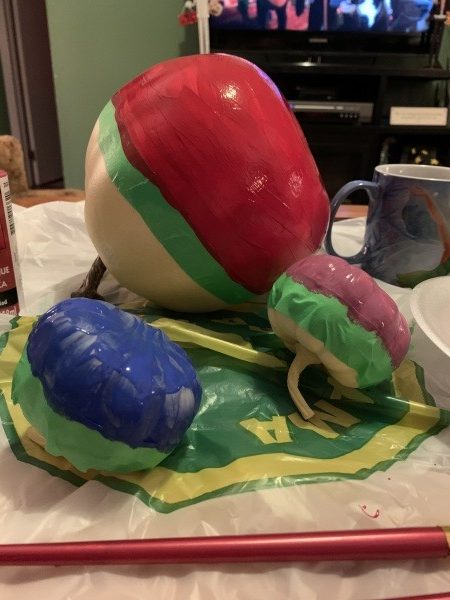
Paint your base bottom half colors. This may require a few coats. For Mickey, I did red. For Woody, I did blue & for Buzz I did purple. I couldn’t find the proper purple for Buzz, so I actually did a little paint mixture using blue, red & white. It worked perfectly!
Step Three
Using a hairdryer between each layer, continue painting until it is completely covered. Remove the painter’s tape & allow to dry fully. I allowed to dry for 24 hours because I wanted to ensure no paint overlapped.
Step Four
Now it is time to paint the top half. Again, this may require a few coats. Do this very carefully, as painter’s tape is not involved and you don’t want to overlap as best you can. For Mickey, I used black, and for both Buzz & Woody I used white. Again, I used my hairdryer in between each coat.
Step Five
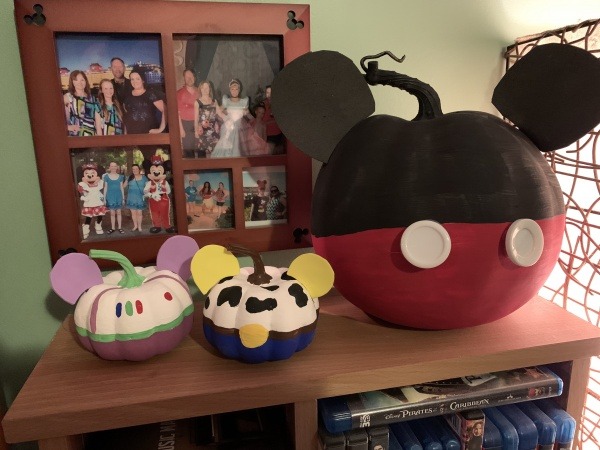
Time for the details! I started by using a hot glue gun to glue Mickey’s buttons on.
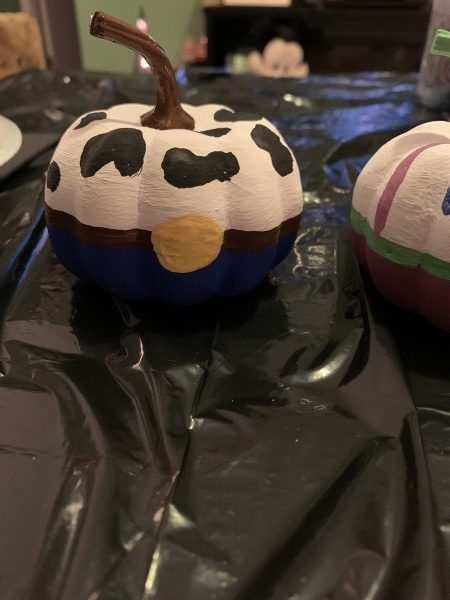
Once the white was dry on Buzz & Woody, I was ready to get creative. For Woody, I used a small line of brown where the top & bottom half colors met for his “belt”. Once that dried, I added the belt buckle & cow spots!
For Buzz, I made his “belt” with a light green shade. I couldn’t find the green paint I wanted either, so I used a Christmas green with some white to tone it down. I used purple again for two little line details, and red, green & blue for his “buttons”. I googled the characters for inspiration! You can easily make this your own.
Step Six
Last, I painted the pumpkin stems. Mickey’s I painted black, Buzz was green & Woody was brown. Remember! You can do any combination of colors you’d like.
Step Seven
The final step was adding the ears for each character. I didn’t want to use hot glue to glue them directly on the pumpkin, as you would see it. So what I did was used some wire I had at home – it was actually the wire stems from some fake flowers I had around home! Any kind of sturdy wire will do the trick.
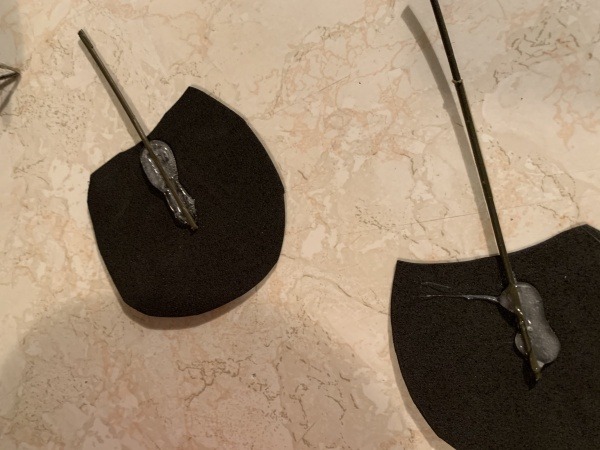
First, I cut the ears for each character, making sure I found the correct size & also curving the bottom part to make sure it would sit nicely on the pumpkin.
Using hot glue, I glued the foam ears to the wire, leaving only enough wire exposed to poke in the pumpkin.
Once the hot glue was fully dried, I poked it in the pumpkin, and voila!
As an option, you can also glue a foam backing on the ears to cover the wire. I didn’t bother with this step because you won’t see them back on. It would add a nice finished touch, though!
There you have it. A fun Disney inspired pumpkin craft. I hope you have as much fun making this as I did!
What characters would you make as a cute Halloween pumpkin? Share with us in the comments or on Facebook or Twitter!
Did you like this article? Make sure to share it with your friends! Check below for easy ways to share!
Want to visit a Disney Destination? Contact The Magic for Less Travel for more information and a free, no-obligation quote.


Very cute! I’d probably make one of Kiara from The Lion King 2 Simba’s Pride