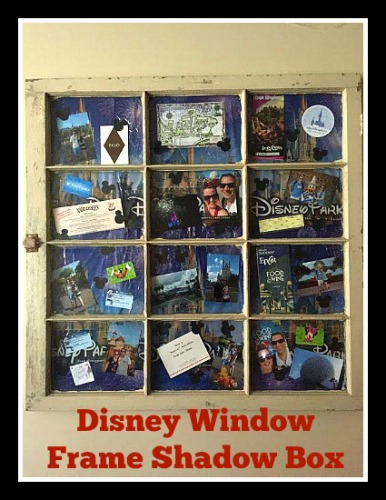
Do you ever come home from a Disney trip with “free souvenirs”? These can be items such as: park maps, times guides, shopping bags, buttons, etc? I have a box of Disney “free souvenirs” I have accumulated over the years. I recently pulled my box out and started to think of what kind of crafts I could do for not a whole lot of money but still be able to enjoy a bit of Disney in my home. Recently I had purchased a couple of old window panes for projects. After looking at my box of “free souvenirs”, I came up with the idea of making a window frame shadow box. In each of the panes, I would add Disney souvenirs.
Window Frame Shadow Box Supply List:
-Window pane
-Cardboard
-Duct tape (in case you need to take your cardboard together)
-Scotch Tape (or whatever tape is best for your project)
-optional: Picture Tape
-Heavy Duty picture hook
-Disney memorabilia and pictures
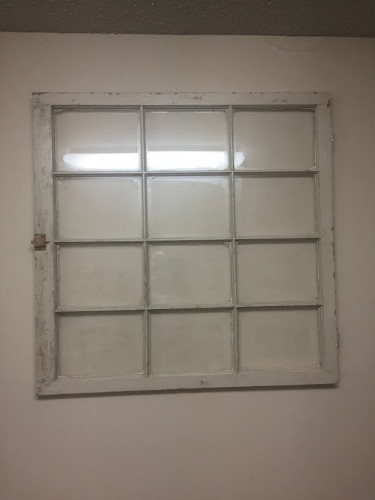
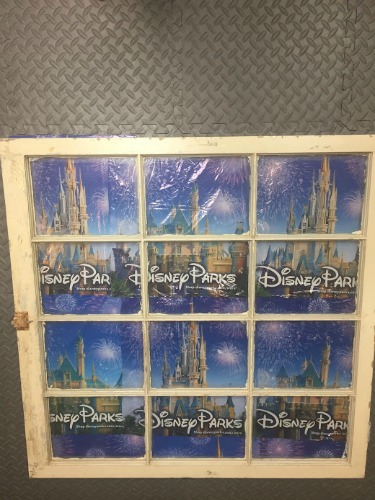
This is the window I had purchased.
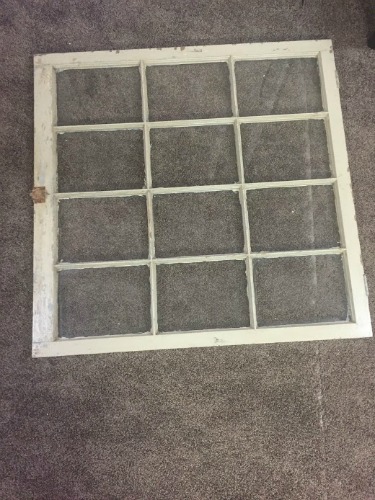
Just a word of caution, if your window is old it might have lead paint on it. I did a light sanding, cleaned it and then sealed in the paint so it was safe.
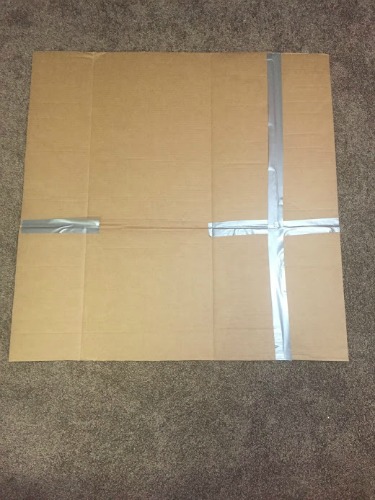
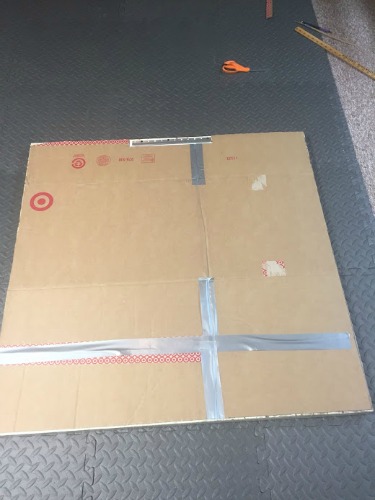
The next issue to tackle was how I would insert my items into each pane and keep them from falling. I came up with the idea to cut some cardboard, and tape it together to fit the back of the window.
Before you start putting anything on the board, make sure you know how you are going to hang it on your wall. My window pane was pretty heavy so I had to get a heavy duty hook. Also, test your window on the wall to make sure it feels secure
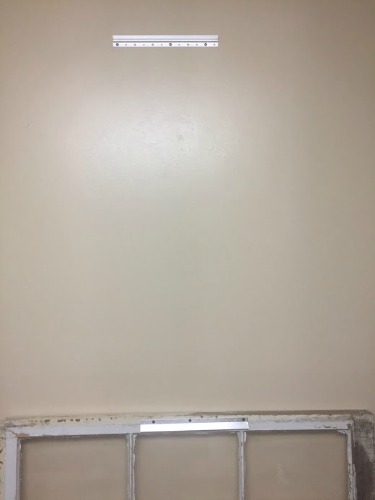
Next, I measured where the hook was on the back of the window pane and cut that section out of my cardboard. I made sure to cut enough so it had room to slip into the wall hook but not show a gap through the window.
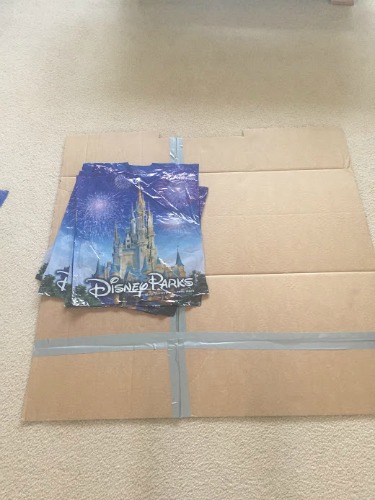
Now the fun part begins! I went through my box deciding what I wanted to use as a back drop. My first idea was to use park maps. After laying them out, it looked too cluttered for what I wanted to accomplish. Then I pulled out Disney Park bags and laid them down and thought that would look awesome. I started by cutting the bags in half and then cutting off any excess parts like the handles and white layer at the bottom. Then I started laying them on the cardboard until I figured out how many I needed.
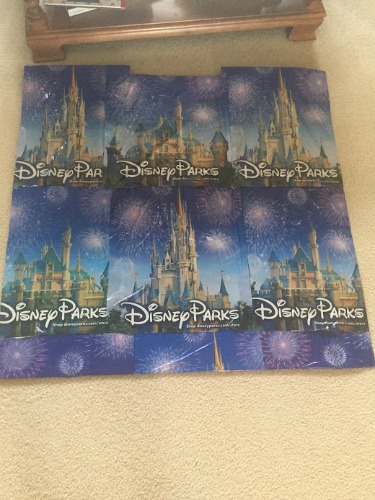
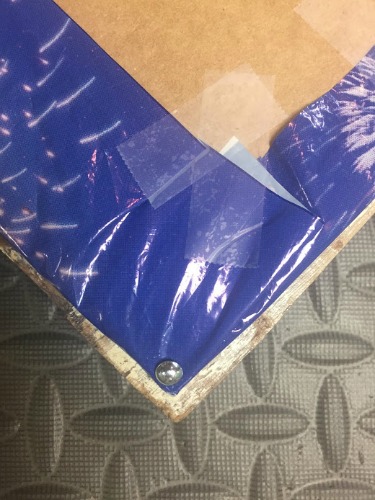
Once I had them all laid out, I had a section of about 6-8 inches at the bottom that still needed to be covered so I opted to just cut the tops of the bags with the fireworks to make it flow with the other bags. After I had them all laid out and where I wanted them, I put the window on top of it just to make sure I liked how it looked before taping anything down. When everything was in place, I put small pieces of tape on the edges to hold it all down and then wrapped the excess around the edge and taped that down. I used regular scotch tape for this, but you can use whatever works for you best.
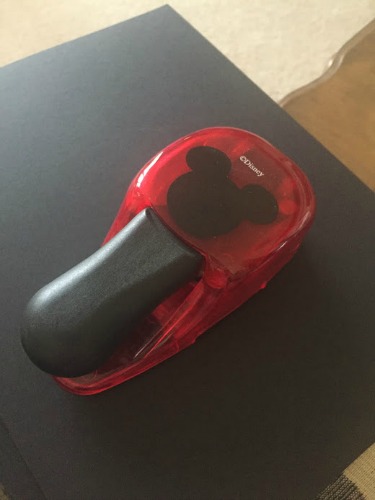
After scavenging through my box of free souvenirs and pictures, I picked out a bunch of stuff I wanted to use to layer on top of the bags. I knew I didn’t want it to be too cluttered but still hold a lot. After laying everything out, I thought it looked a little sparse. I have a fun Mickey head hole punch I used for my wedding. The little Mickey heads cut out of black cardstock all over would be perfect to cover any smaller spots.
To decide where I wanted to put my items, I used the picture I took of the window pane with the bags behind it so I could see the open spots of the window panes. Once I placed all my items, I laid the window very carefully on top to see how it looked. Then I adjusted the items.
To tape the items down, I used regular scotch tape and also picture tape on items I didn’t want scotch tape to get stuck to and rip. The backing was secured to the window using little thumbtacks in all four corners.
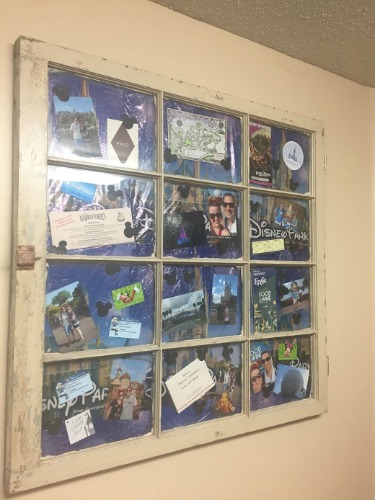
Now the moment of truth! Turn over the finished product! After making sure everything is staying in place, hang it on the wall. Step back and enjoy your little piece of Disney magic at home!
Did you like this article? Make sure to share it with your friends! Check below for easy ways to share!
Incoming search terms:
- https://www themouseforless com/blog_world/disney-window-frame-shadow-box/

You could have used a parks map as the backdrop — or maybe create FOUR windows, each with a parks map and memories from each park.