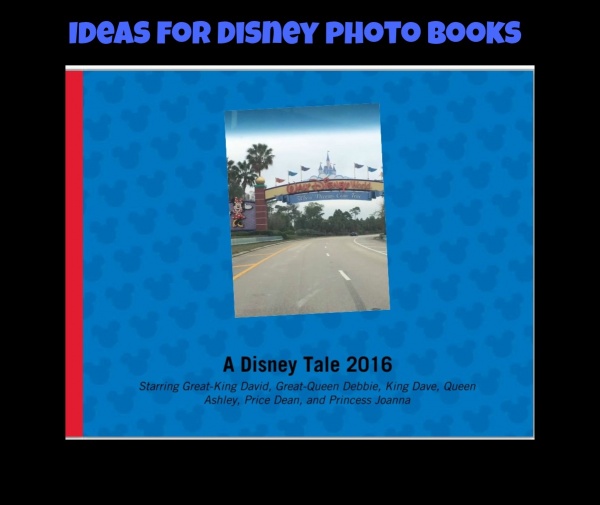
If you’re like me when you get back from Walt Disney World you have tons of photos. Here are some ideas about how to organize your photos so that they don’t end up gathering dust on your hard drive.
You can include both pictures you have purchased with Disney’s photo service Memory Maker or photos you have taken yourself. Just a quick explanation of Disney’s photo services before proceeding. PhotoPass is the Disney service of having photographers around the parks that will take pictures of you and you family. You can buy the pictures they take with their cameras or you can have them take a picture with your camera for free. If you decide to purchase the pictures the PhotoPass photographers take that product is called Memory Maker and can be purchased before your vacation or during your Disney vacation. If you buy it prior to your vacation you will save a bit of money.
You can use many different websites to upload pictures and put together a book that can be ordered and printed out to enjoy. I’ve created several different versions of vacation books to document different trips. Be creative and individualize for your family!
1) Make your story into a fictional storybook with your Disney pictures added.
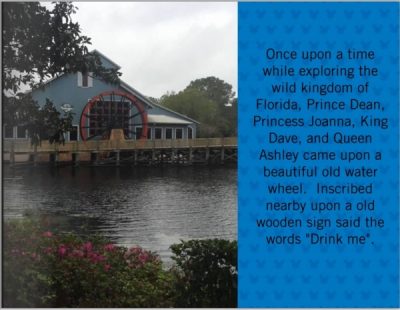
The first page of our Disney story book
The benefit to writing a narrative story when adding pictures is that you can read your story to your children for a bedtime story and enjoy it for a long period of time after your Disney vacation. These types of activities help to remind the entire family of the fun of the Disney vacation, but by adding a fictional narrative story it adds a fun twist. If you’re interested in doing this type of book make sure you take plenty of pictures of places/items that you can then use in your story. I would recommend taking lots of pictures as you go and then once you get home look at your pictures to make up a cute story to go along with what you have.
For instance, the waterwheel is a picture of our Disney resort we stayed at on that vacation, Port Orleans Riverside.
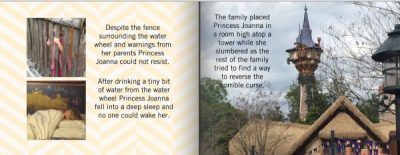
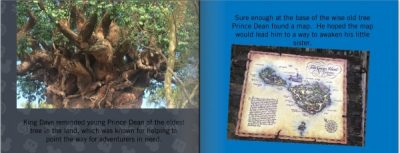
Another few pages of our Disney story
I included both pictures of our family and items from around Disney World. I even worked many Disney characters into our story using photos from character meets. Above notice pictures of our resort room, the Tangled bathrooms in Magic Kingdom, the Tree of Life in Animal Kingdom, and the map to Tom Sawyer island. I added pictures from our entire trip without trying to keep them in any order of when we visited each park on this trip, but added them in the order that made sense for the story I created.
2) Include pictures and add text of favorite things, activities that your family completed, or inside jokes or memories from your vacation.
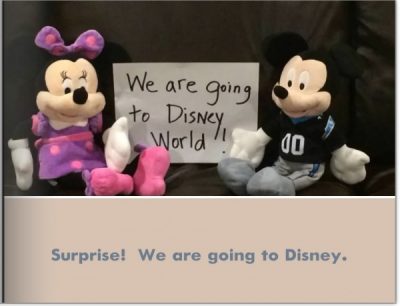
The first page in one of our photo books
The above picture is the first page in one of our photo books documenting our trip. I included this photo to remember the way we told our children for a surprise trip.
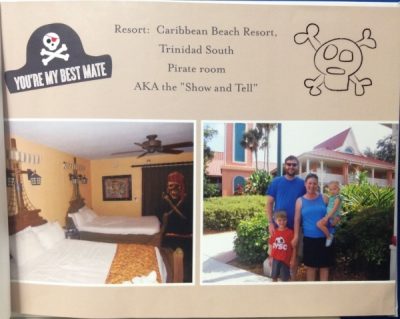
A photo of our resort
We included a page documenting the resort name, pictures of the resort, and funny “inside” jokes from the trip. For example on this page, our 3 year old had never really heard the world hotel and called our room the “show and tell” the entire trip. That’s actually a cute detail I had forgotten, and when I was reading the book again to write this blog post it was a fun memory to remember.
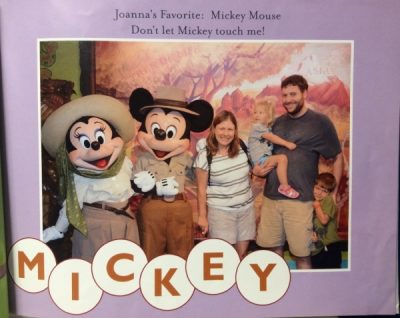
A photo of favorite things from one day of our trip
Including pictures of favorite things for each family member from each day of the trip is another thing we have done to help remember those special Disney moments. We included Mom’s favorite, Dad’s favorite and each child’s favorite activity for each day of our trip. Remembering the first time our 3 year old was afraid of Mickey (but still wanted to see him) is a priceless moment.
Feel free to add text and “stickers” to help decorate your pages. Also don’t feel like you have to add special Disney icons to the page, especially if adding those items might cost more. By adding your personal pictures you’ve got the Disney decorations already! As you can see on the picture above I just added text circles to spell out Mickey, which is not trademarked in any way. If you have bought Memory Maker through Disney you can also add Disney stickers through the Disney website for no additional charge when downloading pictures.
Regardless of how you display your Disney pictures I encourage you to figure out a way that works for your family to display those priceless Disney memories and not leave them sitting on your computer.
What are your favorite ways to create Disney photo books that are unique? Share your suggestions in the comments!
Did you like this article? Make sure to share it with your friends! Check below for easy ways to share!
Incoming search terms:
- https://www themouseforless com/blog_world/disney-photo-books-organize-your-photos/
