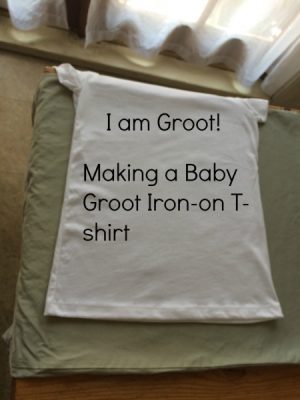
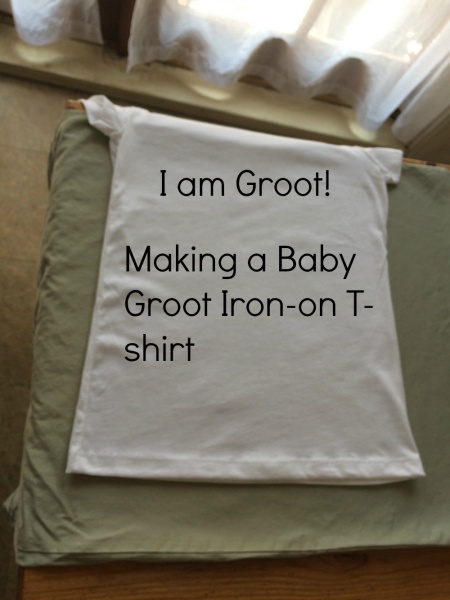
This plain white T-shirt is about to get its Groot on!
I am a sucker for Disney contests, especially when the grand prize is a trip to Disneyland or Walt Disney World. Recently, Disney Movie Rewards held an online contest. You could enter once a day for a grand prize of a 4 night Disney Cruise sailing.
Now, I promise you, if I win that, I’ll be blogging about it. But the nice thing about this contest was that every day when you entered, you automatically won some sort of printable prize. One day it was a Star Wars themed word search. Another, printable Lion King stickers. You get the idea.
For three days, the daily prize was a different Baby Groot iron-on printout. Now, my 11 year daughter is about to turn 12. She happens to be a Baby Groot fanatic. And my husband happened to have some iron on printer paper. So I bought some inexpensive plain white T-shirts and we got to work making my daughter a birthday present using the Baby Groot iron-on!
The first step was printing out the PDF that I downloaded from the Disney Movie Rewards website. The instructions on the printer paper told us to print the image in mirror.
Next, I ironed the white T shirt and a pillowcase so that there were no creases. I then laid the pillowcase on top of our wooden dining room table. (The instructions say should NOT try to do this on an ironing board – the surface must be hard.)
I lay the white T-shirt on top of the pillowcase, and plugged in my iron, making sure it was on the highest setting, without steam. It’s important that the iron is very hot for this to work properly.
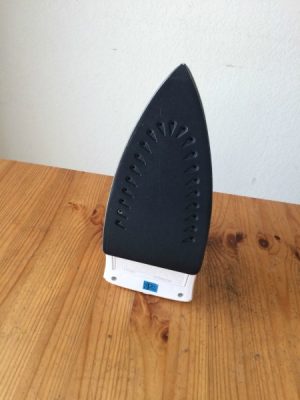
The iron must be very hot, and you must use a hard surface
While I was doing this, my husband cut out the design, leaving ¼ of an inch of space all around it. Then we lay the design down, print side down, on top of the T-shirt. Now, imagine that the design is separated into thirds.
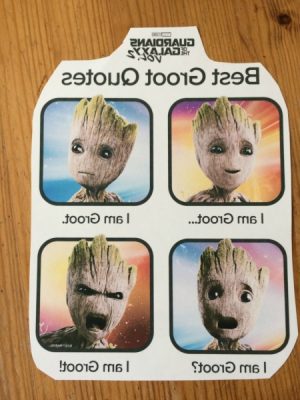
Trimmed, mirror printed design on iron-on paper
Using the wide part of the iron, begin ironing across the top third of the design, pressing down very firmly and slowly. It should take 30 seconds to iron across the top third.
Repeat the same process, always with the wide part of the iron, in the middle third and the lower third. Once you complete this, turn the iron upside down and repeat, always using the widest part of the iron and always taking 30 seconds to firmly push the iron across the design.
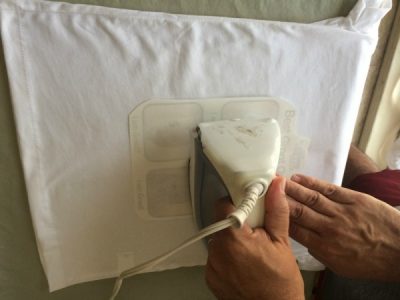
Press firmly and move the iron slowly
Next, take the iron and, pressing firmly, run it along the border of your design in a circle, spending about four seconds to complete the circle. Do this a total of thirty times.
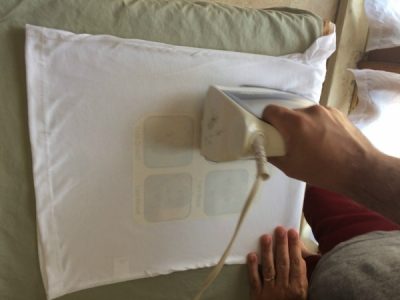
Iron the border of the design in a circle, 30 times
Put the iron aside and shut it off. Wait between 1 and 2 minutes to let the shirt cool. (Apparently if you don’t wait long enough it’ll be too hot to touch, and if you wait too long, the paper will not pull off properly.) We waited one and a half minutes and that worked fine.
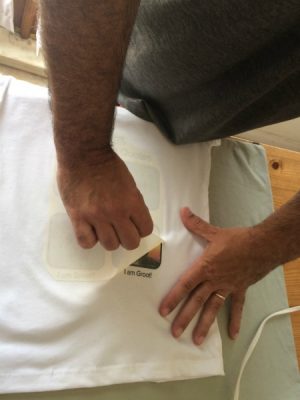
Start at one corner and carefully peel the backing off
Carefully peel the paper off of the shirt. As you can see from our finished product, it worked extremely well for us! The shirt had a vintage 1970’s look, which fits the Guardians of the Galaxy theme perfectly.
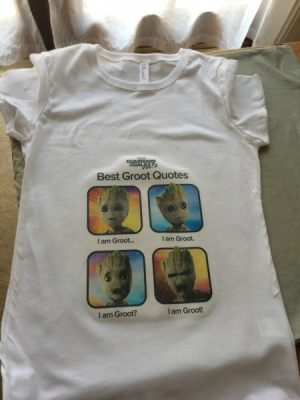
The finished product!
This worked so well that we are planning to use the other 2 Baby Groot Iron-On designs I “won” from Disney Movie Rewards to make 2 more shirts for my daughter’s birthday!
(Shhhhh, don’t tell her! It’s a surprise!)
Did you like this article? Make sure to share it with your friends! Check below for easy ways to share!
Hello, you had posted the pdf of the 4 faces of baby groot. You mentioned that you also had other baby groot designs. I was hoping you still had the pdf of the image that shows baby groot sitting and says baby groot? I also won the disney images but just kept it in a web browser and forgot to save it. Went to print it yesterday and the website is coming up with an error message. It would be great if you still have that one and could send it to me. Thank you.