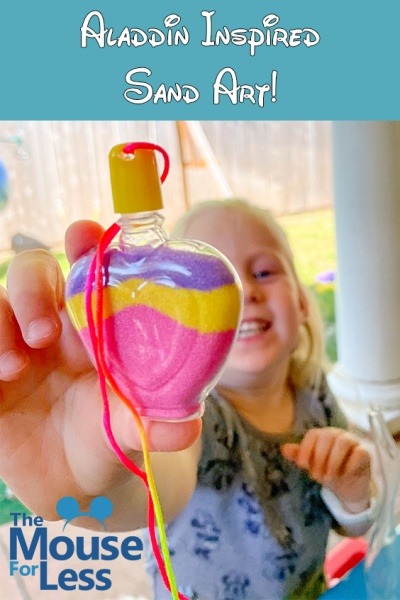
Today we have another great craft for you and your family! We watched Aladdin this week together! I forgot not only about the amazing music in this film, but just how beautiful the animation is! Watching it you will also notice the role sand has, not only in the setting of Agrabah, but it’s also the way the Cave of Wonders come to life! It’s amazing how the animators drew the shifting sand in all these iconic scenes!
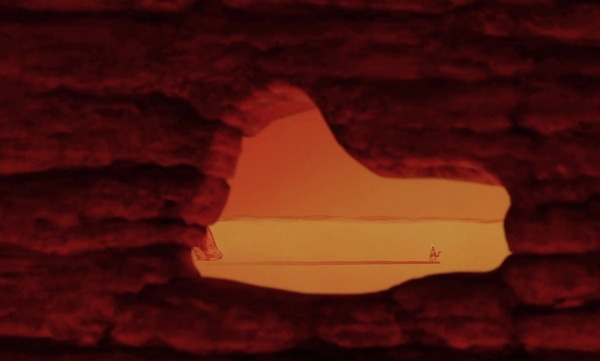
We decided to do sand art to go along with the movie! This is another craft where it will be easy to gather all the supplies because you can order the entire set with everything you need!
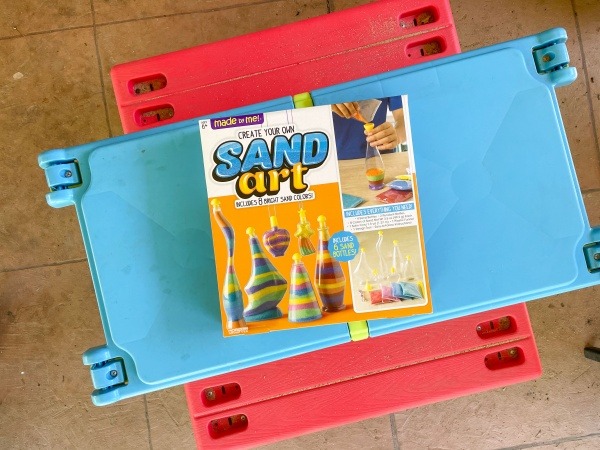
When we opened the box, there were four larger containers for the sand and two smaller ones. The kit also comes with lids, sand, a funnel and a “stirring stick.” Of course, there’s instructions too if reading them strikes your fancy!
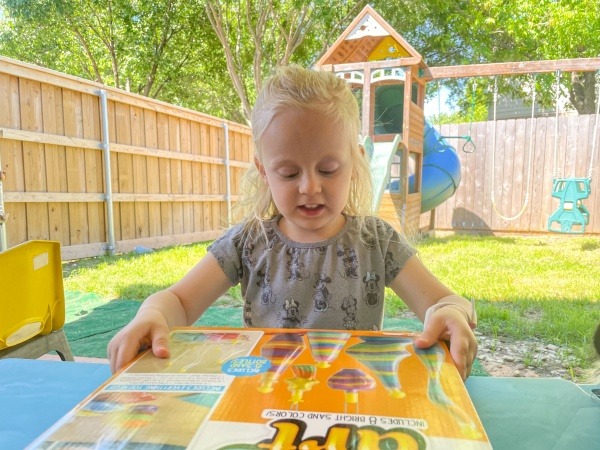
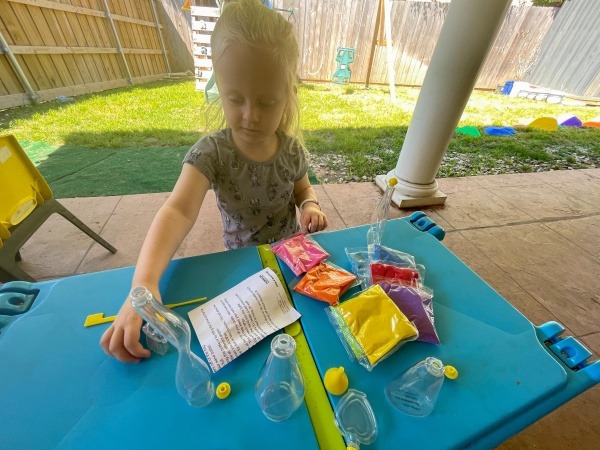
The craft is pretty straight forward. You take your jar of choice, pour your favorite color of sand into it, and repeat with however many colors you want until you have filled up the container! You use the funnel to make sure the sand easily gets into the container, but don’t be surprised if you end up making a mess!
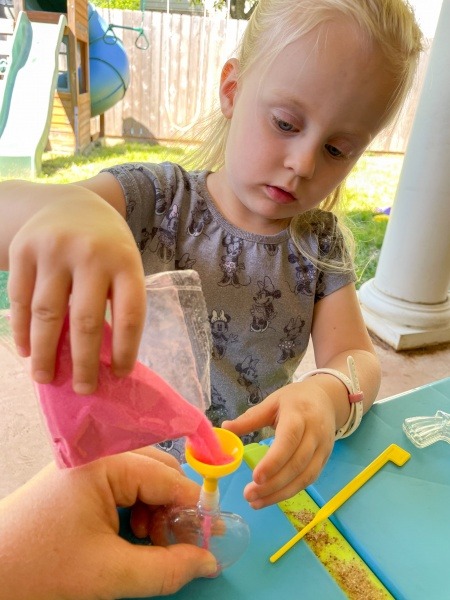
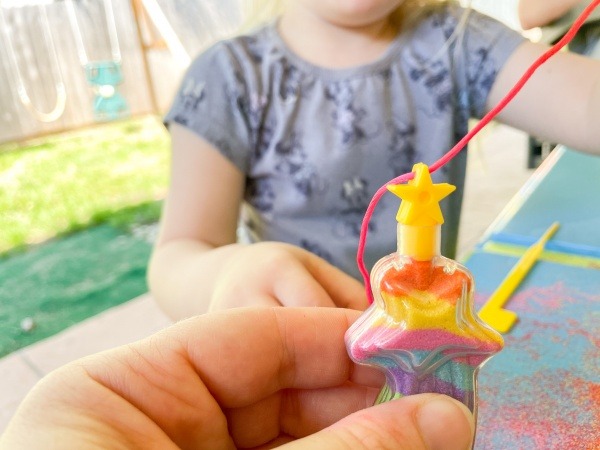
When you have filled your container, then you put the cap on! The smaller container caps came with pre-drilled holes where you can thread some of the included rainbow cord and make a necklace with your art!
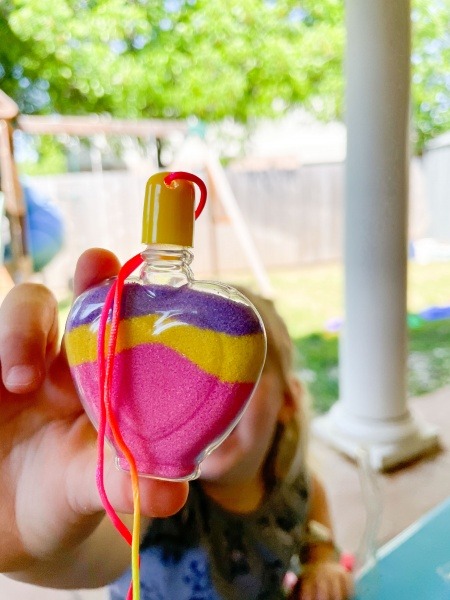
Even though this is a pretty straight forward craft, I have a few pointers for you at home to make it a fun experience!
1. When you fill up a bottle be sure to gently tap the whole container down on the table to get the sand to settle. You will find you end up having more space at the top to fill as you move/tap your art on the table!
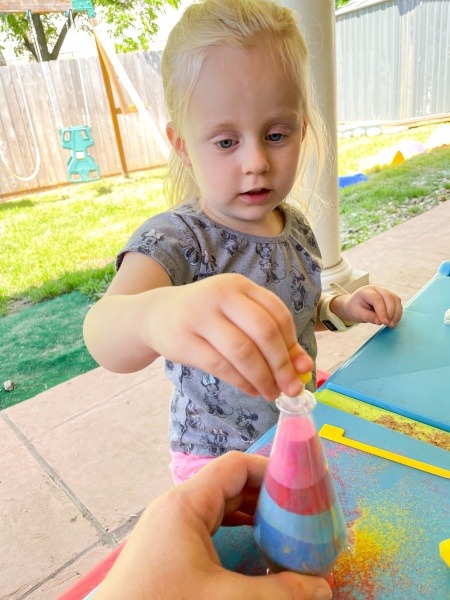
2. You will get sand everywhere! So pick an area you are ok with getting messy. We have a sand play table in our backyard so this was the easiest clean up area for us!
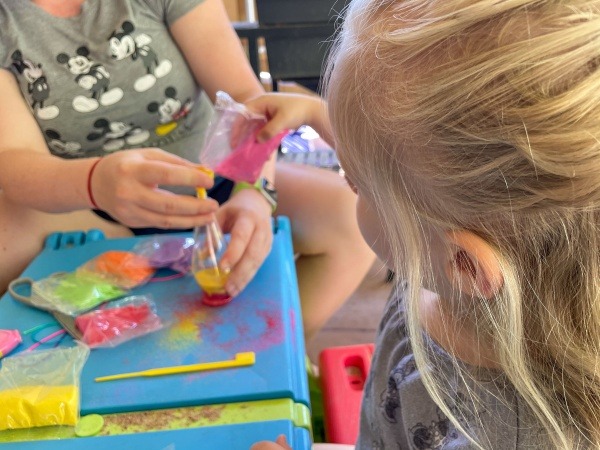
3. There’s a “stirring stick” that is supposed to let you make these cool “dip” or “zig zag” designs in your sand art between color layers. My daughter just liked to stick the thing in the jar for fun and so the designs never changed on the edges of the glass. Be sure to try to stick to the edge of the jar when you want to use this technique in your artwork!
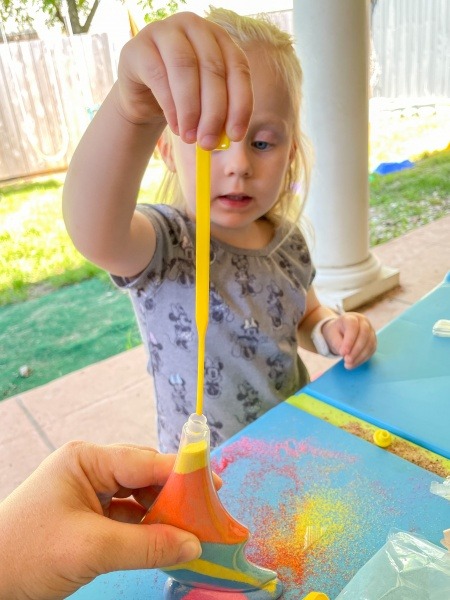
4. I highly encourage you to super glue or hot glue your sand art caps when you are done. ESPECIALLY the ones that can go on as a necklace. The caps come off very easily and who wants that colored sand all over their house??
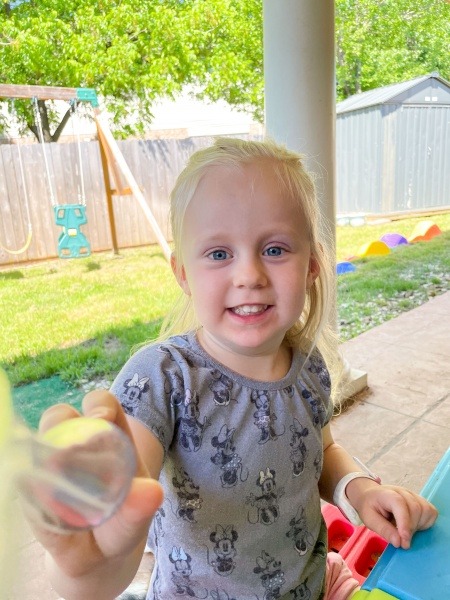
5. Last but not least, be sure to let your kids freely make their art! I used one small jar as the “teaching” jar to show her what the craft was all about! Other than that, I tried to let her decide what sand she wanted to do in each jar. If she asked for help pouring, I would of course help. It was difficult for me to just let her create her own way but fun to see how she decided to do things! She really got the hang of pouring things into the funnel by the end, something she struggled with in the first part of the craft! Hooray for learning new skills!
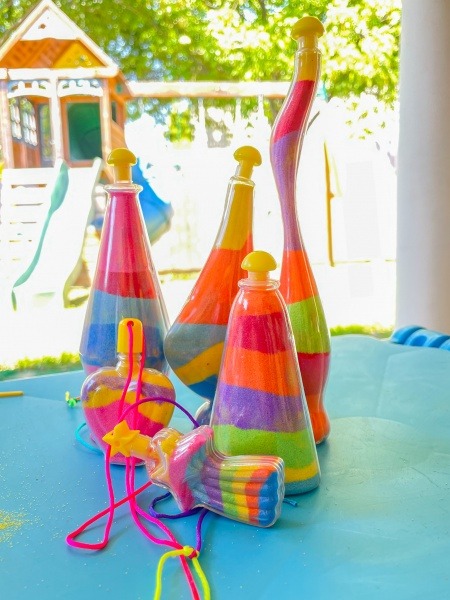
If you do this craft at home let us know and share the pictures of your art! Want your own sand art kit? Pick it up here using our affiliate link. Let us know in the comments or on Facebook or Twitter!
If you want to do more crafts check out our Cinderella Inspired STEM carriages or our Frozen Spirograph Snowflakes!
Did you like this article? Make sure to share it with your friends! Check below for easy ways to share!
Want to visit a Disney Destination? Contact The Magic for Less Travel for more information and a free, no-obligation quote.
