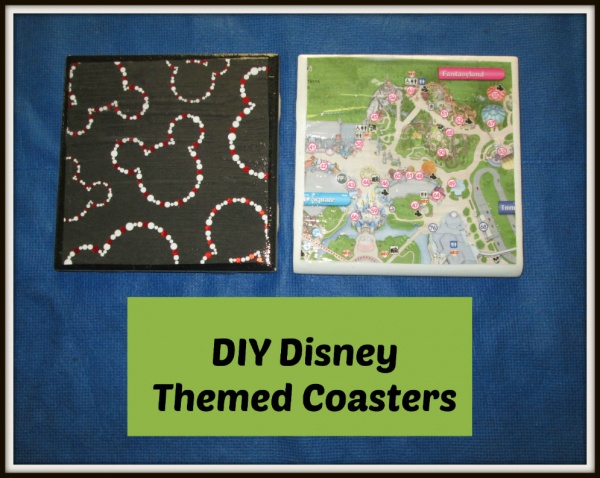
Last year, Erin Glover from the Disney Parks Blog shared how to make coasters from recycled Disneyland Park maps. I thought that this was a cute project, and earmarked it to make someday. Someday has arrived!
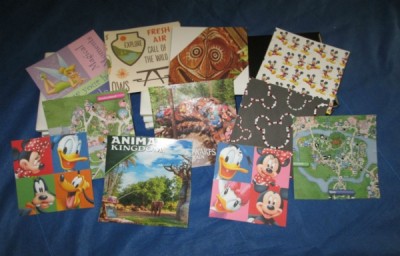
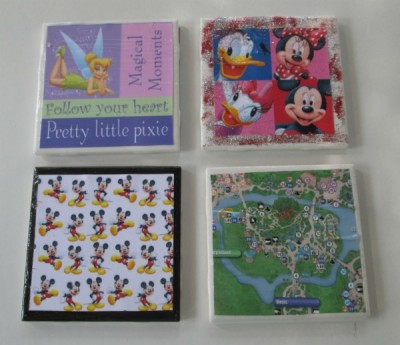
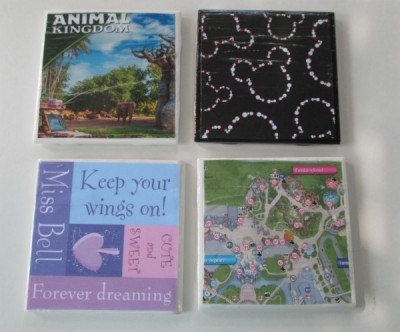
I didn’t have any Disneyland maps, but I did have Walt Disney World maps. These do work, though they do not seem to be as artistic or colorful as the maps from Disneyland. I decided to use a couple of maps, but to also use Disney themed scrapbook paper and a page from Disney themed mail I received. I experimented with glitter, too. Every Disney project can use some pixie dust, right?
Supply List
- Ceramic tiles
- Thin cork
- Disney Park maps, themed scrapbook paper, or other decorative paper
- Cardboard for template
- Decoupage glue
- Tacky glue
- Waterproof acrylic sealer
- Foam brushes
- Glitter (optional)
- Scissors
- Ruler
Directions
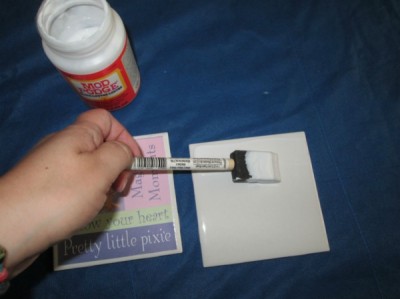
1. Measure the tiles, and make a cardboard template of the size of images you want for the coasters. Use the template to trace just the right size of the images from your maps and decorative paper to glue onto the tiles later. Cut the images.
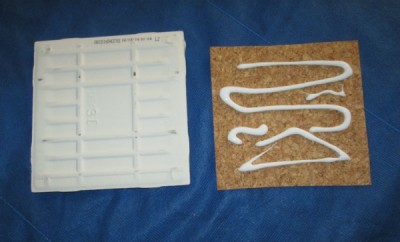
2. Cut the thin cork to a size that covers the back of each tile. Set the cork aside for now.
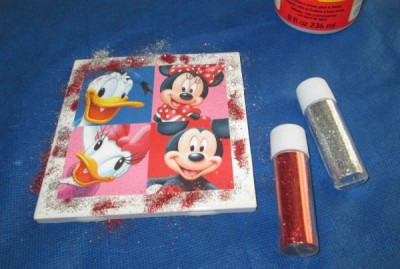
3. Use a foam brush to cover a tile with decoupage glue, and quickly put a cut design on the tile. Center the paper, and use your fingers to smooth out any wrinkles or air holes. Make sure the cut design is flat. Let this dry for about 20 minutes, or longer if it is humid. *Optional step with glitter: Sprinkle some glitter around the edge of a coaster after the cut paper is set. I did this with one coaster, and was immediately sorry that I did not have this coaster on a paper plate to contain the glitter mess! So, if you use glitter, I recommend putting each glitter coaster on a paper plate to contain the glitter mess and to have a dedicated brush to use exclusively on the glitter coasters from this point forward.
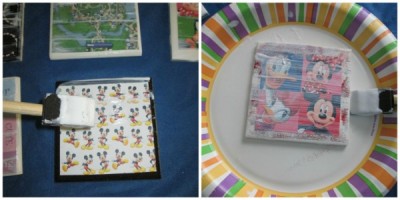
4. Once you have waited 20 minutes or so for the glue to dry from Step 3, paint a layer of decoupage glue over the whole tile and paper. Neatness matters, because you will see stroke lines when it dries. Paint in one direction. Let this dry for 20+ minutes.
5. Repeat Step 4 at least one time, or more until you see the desired effect. Allow the coasters to dry in between each time you paint glue. You can do the brush strokes in the same direction as before, or in an opposite direction. Remember, neatness matters! I did all paint strokes in the same direction. When I was finished with my last coat (I repeated this step 2 times), I allowed the tiles to dry for 45 minutes.
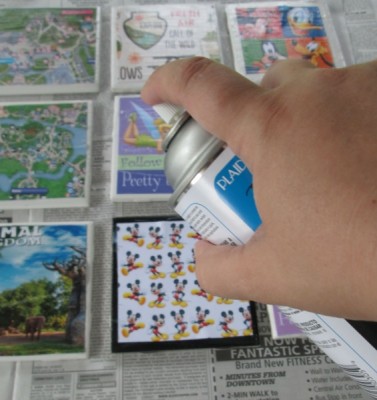
6. Spray acrylic sealer on the tiles, and follow manufacturer directions on the spray. I moved this project from my dining room to the back porch for this step. The fumes from the spray were strong, and it was good to move to a well ventilated area.
7. Once the coasters are completely dry from the acrylic sealer, use the tacky glue to attach the pre-cut cork to the back of each coaster tile. Now, the coasters should not scratch your furniture. Allow the coasters to dry for 24 hours before use.
Final Thoughts
I’m not good at crafts, and some of my coasters were less than perfect with a little wrinkling or messy glue spots when finished. That said, overall they turned out to be cute and festive! I thought that the thick scrapbook paper would be easier to work with than the park maps, but the thin park maps were fine. The one coaster with glitter did turn out to be sparkly pixie dusted!
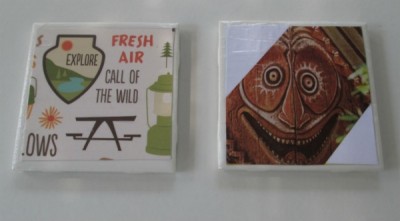
If you make these, be creative with the paper you use. I found a pattern that wasn’t specifically Disney, but it reminded me of both UP and Fort Wilderness. I found another design that reminded me of the Polynesian Village Resort and Adventureland!
I think these would be fun to have at a Disney themed party or event, and they would be nice gift sets too! I’d like to give a big thank you to the Disney Parks Blog for sparking my imagination to create these coasters.
Have you ever made DIY Disney-themed coasters? What tips do you have?
