Project time: 30 minutes
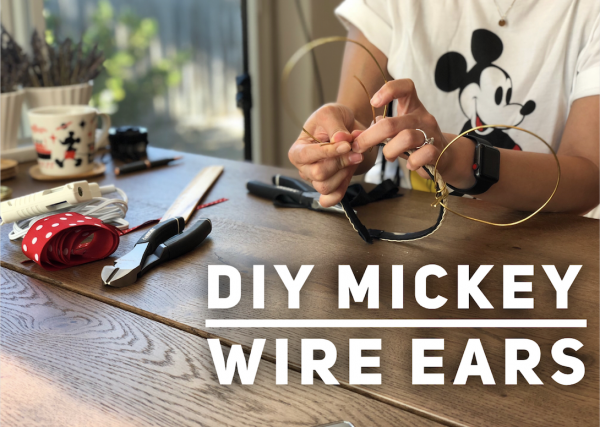
One of my favorite things to come out of the ear trend is DIY Mickey wire ears. Sporting your favorite Mickey ears at Disney has always been the thing to do. But more and more Disney fans are getting super creative and making their own ears at home! I love this trend because it really lets you make a statement at the parks. Not to mention no one will have the exact same set of ears as you!
I love the minimalism of the Mickey wire ears look. It really lets any add-ons, like bows and flowers, pop! Being so customizable, you can tailor this basic guide to any look that you want to achieve.
One of my biggest recommendations in making Mickey wire ears is choosing a fairly thick (i.e. lower gauge) wire. Even though it can be a bit more challenging to work with, this will help your ears stand the test of time. After you’ve cut the ribbon pieces to the right length, quickly pass a lighter over the edges (literally a second or less will do) to “seal” them and prevent fraying. Also, using wire ribbon (which has wire sewn into it) makes it easier to create and mold bigger bow looks if that’s what your going for.
This how-to allows the bow to be interchangeable! So if one day you want to be Donald instead of Minnie, you can switch out the bow as needed!
Let’s get started!
What you’ll need:
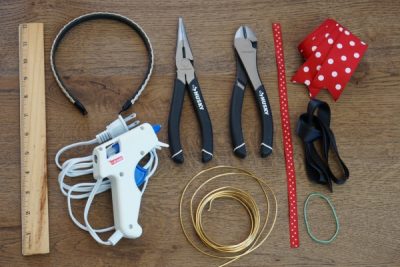
- Headband
- 12 gauge (2 mm) craft wire (about 34 inches)
- 1 1/2 inch ribbon (two-24 inch pieces)
- 3/8 inch ribbon (12 inch piece)
- 5/8 inch ribbon (54 inch piece)
- Wire cutters
- Pliers
- One rubber band
- Hot glue gun
- Ruler
Making the Ears
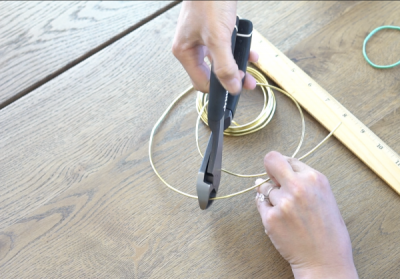
1. Uncoil and make a circle with your craft wire. Form a circle with a 4 inch diameter. Keep about 2 to 3 inches of extra wire hanging off the ends of the circle to wrap around the headband. Use your wire cutters to cut the excess wire off. Do this one more time so you’ll have two ears. Note: If the wire isn’t a perfect circle yet, don’t worry! You can mold them further once they’re attached to the headband.
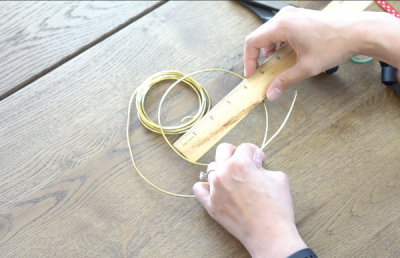
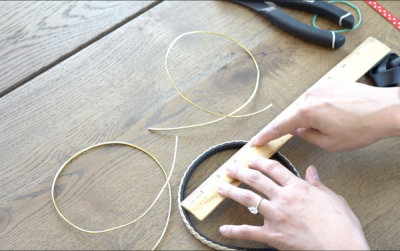
2. Measure 4 inches across the top of the headband, and make a small mark on either side, this will be the center attachment point for each ear on the headband. The spacing here is an important factor for getting your ears to have that classic Mickey ear look!
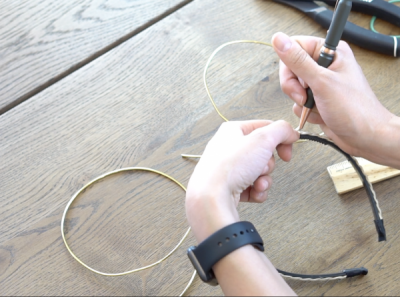
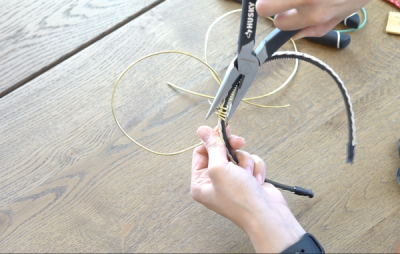
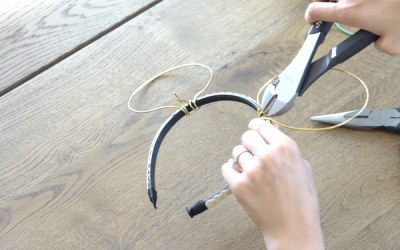
3. Begin to wrap the wire around the headband and secure it with your pliers. Try to avoid wrapping the wire over itself, as this might make the headband uncomfortable to wear. Repeat on the other side. I find that making the ends of the wire perpendicular to the ears makes it easier to start wrapping. Trim the ends with your wire cutters. Mold the wire to form the perfect Mickey wire ear circles.
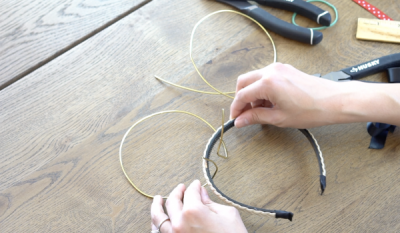
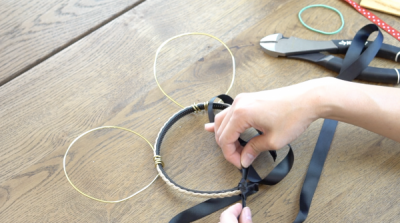
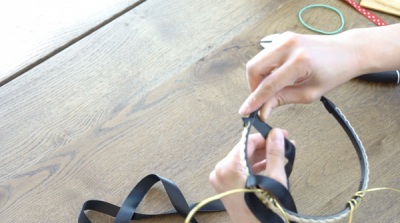
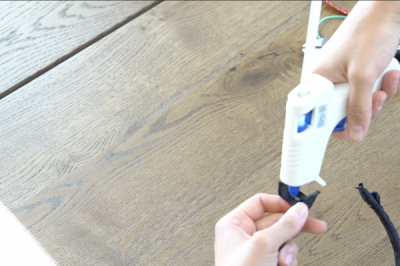
4. Take the 5/8 inch ribbon and secure a small knot at one end of the headband. Make a double knot so the ribbon is snug. Begin to wrap the ribbon around the headband, being sure to maintain a smooth, flat surface, and covering visible wire that’s secured to the headband. Secure another double knot or hot glue the end once you reach the other side.
Making the Bow
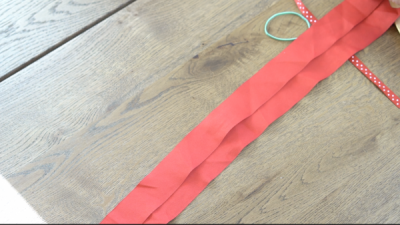
5. Lay your 1 1/2 inch ribbon pieces with the right face down. Overlap one ribbon about halfway on top of the other. Note: I’m using two ribbons to create a big double bow, but you can use the same tying pattern with one ribbon for a small bow or a thicker ribbon for one big bow!
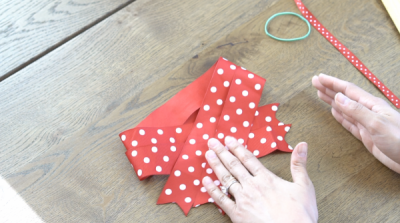
6. Take the ends of the ribbon pieces and cross them over one another. You’ll want the ends of the ribbons to lay just under the folded portion of ribbon on the opposite side.
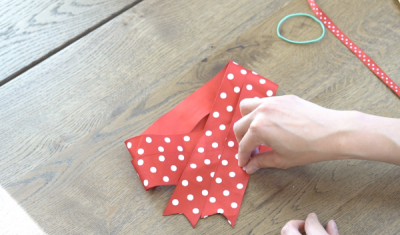
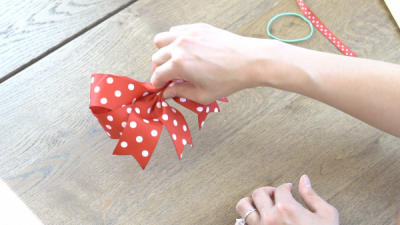
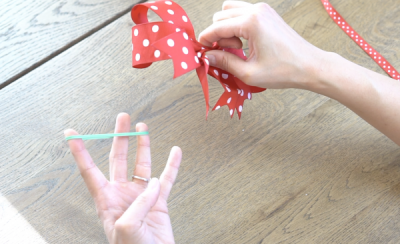
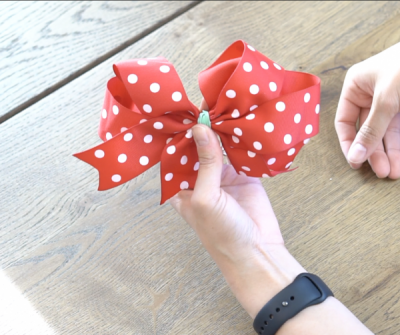
7. From the bottom, center of the crossed portion of the ribbons, begin to pinch and gather the ribbon to form what the bow will look like. Gather the center from the bottom all the way to the top. Take a rubber band (I like a sturdier 2 mm rubber band) and secure it around the pinched part of the bow to hold the bow shape. Adjust the bow shape to your liking. You can also use a zip tie for this, but I find that the rubber band gives more flexibility for changing the bow shape if I’m unhappy with it.
Finishing Your Mickey Wire Ears
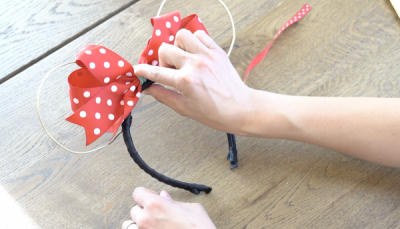
8. Attach the bow to your Mickey wire ears. Center the bow on the top of the headband. Using your 3/8 inch ribbon, wrap the center of the bow around the top of the headband to cover the rubber band. Secure with a double knot on the backside of the headband. For a finished look, tuck the ends of the 3/8 inch ribbon to the inside of the bow. You may glue in the edges of the smaller ribbon with a small dot of hot glue.
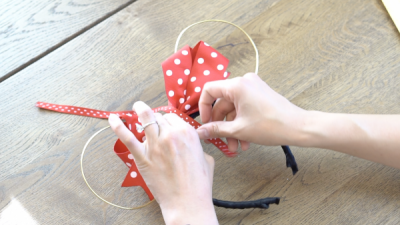
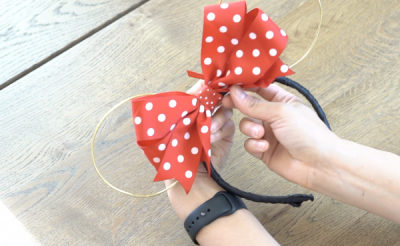
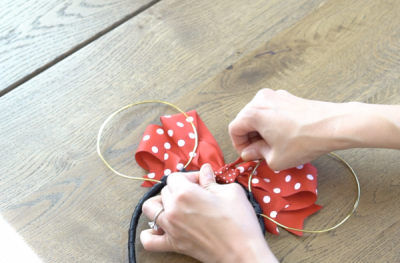
9. Show off your Mickey ears to your friends, family, and at the parks!
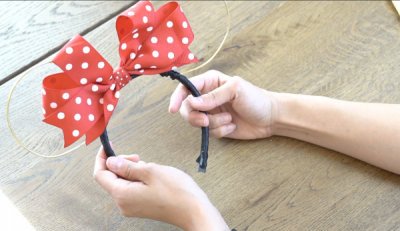
Figment said it best, “just turn your imagination loose, and anything can happen!” The same goes for your Mickey wire ears! Every detail of these is customizable, from the wire ear size to ribbon color to add ons. Let us know if you’ve made your own Mickey wire ears! We hope this brought a little bit of magic to your day!
Did you like this article? Make sure to share it with your friends! Check below for easy ways to share!
Incoming search terms:
- https://www themouseforless com/blog_world/diy-mickey-wire-ears/
- diy wire minnie ears
- https://www themouseforless com/blog_world/diy-mickey-wire-ears/#:~:text=Making the Ears&text=Uncoil and make a circle cut the excess wire off
- wire mickey ears
- wire mouse ears

