
Any trip to Walt Disney World is bound to generate some great pictures. This is especially true during the Christmas season, when the whole resort is beautifully decorated. However, with just a little bit of extra knowledge, you can make sure that your pictures capture the true essence of your magical trip.
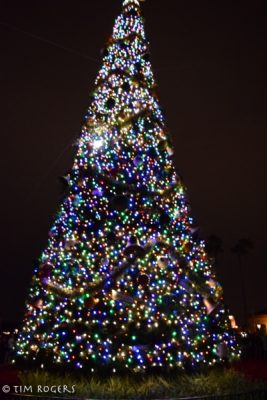
Tip One: Use Flash, Sometimes
Flash is an incredibly valuable tool when taking photos, but, even in Disney World, it isn’t magic. That is because flash works by illuminating the area close to your camera or phone, but not the entire world in view. Think about a sports event at night, and those iconic shots of flashbulbs going off all over the crowd of some exciting event on the field. While the effect is cool, the ironic thing is that most, if not all, of those flashes aren’t actually helping take better pictures because they are too far away from the subject of the picture.
So, when you are trying to get those iconic holiday decorations in view, definitely use flash to capture your family or friends standing in front of something, but don’t use flash to, say, take a picture of the castle in all of its lights.
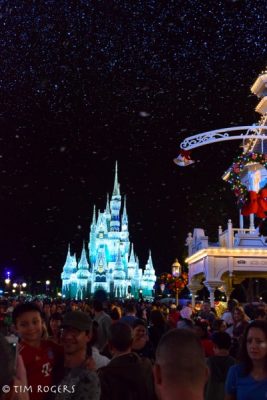
Using flash here, I would have a nice view of a lot of people’s heads
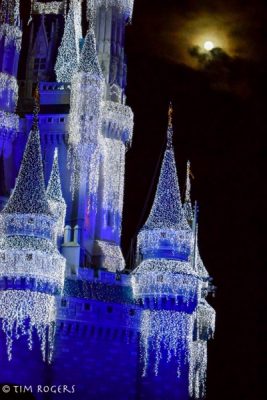
Also, if possible, try to take some shots both with and without flash – I personally prefer most night shots with the flash off, if at all possible. If you do both you then can choose what you like best!
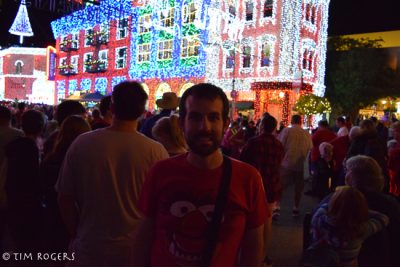
You can see the lights, but not me
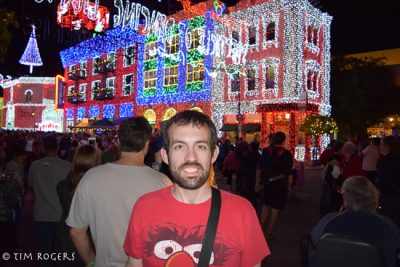
With the flash you can see me, and we were far enough away that the lights are still nice
One other note, combining tip one and two – sometimes you can fix the problem of balancing the background and foreground by using flash (so you can see the person in front of you) and use a little bit of a longer exposure (so the lights aren’t washed out).
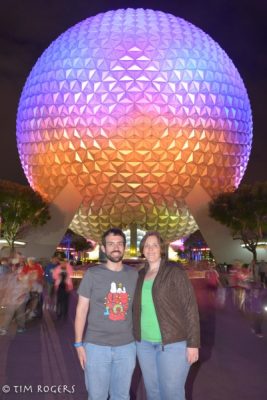
Some of the Photopass Photographers will use flash with a long exposure to capture you and make what is behind you look cool. You can see the people behind us are blurry here.
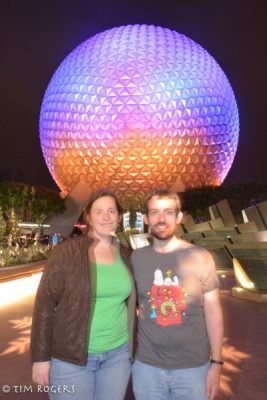
If they tell you to hold still, though, you really should.
Which brings us to…
Tip Two: Use Longer Exposures
This is definitely possible with more advanced SLR cameras, but is possible even with some smart phones these days. When you are taking pictures, you are essentially recording light, and the longer you record, the more light you let it. For things like Christmas lights, this can be the difference between a washed out or overly dark picture and one that really captures the essence of what you saw.
As a warning (which might be obvious), when you use any sort of long exposure if you are trying to hold the camera in your hand it will be blurry – we just aren’t capable of holding completely still. However, you have a few easy options. First is a small, bendable tripod (I have a Gorilla Pod). They are allowed in the parks and can be attached to just about anything.
Even easier than that, use what is around you. I read from one photographer that Disney has remarkably supportive bushes. This picture (from the Osbourne Lights) was taken by putting my camera on a trash can.
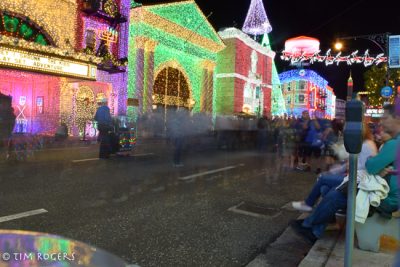
Bonus tip for long exposures, if you are using a tripod or setting the camera somewhere, use a very short self-timer. Even the action of pressing the capture button can cause the camera to shake a little, and using the self-timer avoids that problem.
Tip Three: Edit Them!
These days there are a variety of apps and programs that allow you to do everything from the most basic to the most advanced photo editing. I personally use Lightroom for almost everything, but if you don’t want to (or aren’t able to) pay for that, there are several free web-based and downloadable programs. My main advice here, is just find one that works for you and actually use it. You might find that the one picture you thought didn’t turn out actually just needs a little but of love after the fact, and might be your favorite.

In this picture, I used a flash to see Stitch, but it washed out the lights he was holding, so even editing it made the picture not as dynamic.

Starting without a flash, the lights look much more interesting, and with software I was able to easily brighten his body and adjust the contrast.
Tip Four: Practice
Whether your Disney trip is your 5th this year or once in a lifetime, you want your pictures to look right. Especially with Christmas lights, you can find great places to learn your gear and figure out your options even by just walking down the street. These days, many neighborhoods and businesses also put on dancing light shows, which can get you ready for the castle lighting or the firework and projection shows. All of that with the added benefit of getting out in your community and enjoying some Christmas cheer!
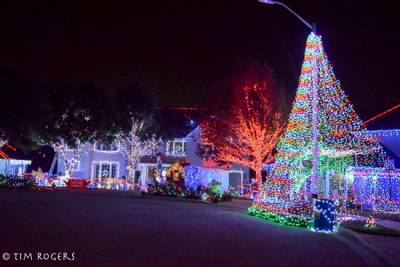
A neighborhood near mine has a collective Christmas light display and show, check out your local area for things like this.
So, if you are heading to Walt Disney World during this, or any other, holiday season, just try these tips and you’ll have some of these “magical” shots you’ll be sharing for years.
What are your best tips for photographing Disney Christmas Pictures? Share in the comments section!
