Planning of a Walt Disney World vacation can seem daunting – all the different systems, acronyms, deadlines, and more. While making hotel reservations and dining reservations are at least somewhat familiar for any sort of vacation, FastPass+ (FP+) is a completely different experience, and can seem confusing to the uninitiated. Here is some advice for getting ready to take full advantage of this system.
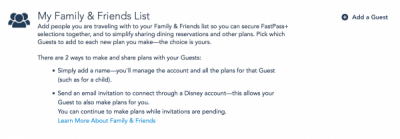
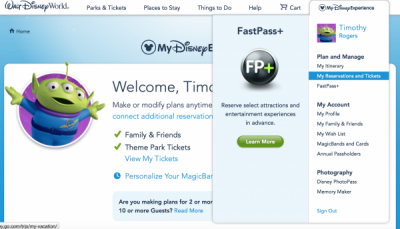
First things first – go to mydisneyexperience.com and make an account. Once that is done, you should connect to the rest of your travel party. This can be done under the main drop down menu under “My Family & Friends.” If you are traveling with a small group, people who don’t like technology, or people who you don’t want messing with your plan, you can just add their name and make plans for them. If you are traveling with multiple families, others who have already gone to Walt Disney World recently, or just others who want to also have control over the plan, you can send a friends and family request through the system to connect accounts. Besides plans, this is also important later on if you plan on getting Memory Maker.
After you are set up and connected to your travel party, you need to be sure to link your tickets and, if you are staying at a Disney hotel, your hotel reservation under the “My Reservations and Tickets” option on the main drop down menu. Both of these are important – without a valid ticket on your account you cannot make any FP+ reservations. The hotel is important because anyone can make a FP+ reservation 30 days out, but those staying on-site at a Disney hotel can make FP+ reservations 60 days out, plus 10 days (meaning if you have a week-long trip, you can schedule all of your FP+ for the whole trip 60 days before the first day). For some hard to get experiences, this extra time can be incredibly valuable.
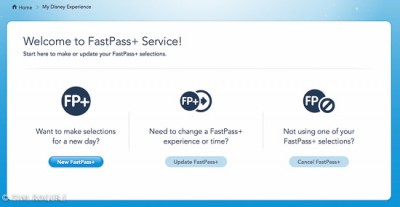
If you are unfamiliar with the Disney site, don’t like computers, like computers but are a mega-planner, or really just anyone I would highly recommend going into the FP+ reservation system to practice a few days before you are able make your actual reservations for your trip. Once you have a ticket on your account, you will be able to make FP+ reservations within 30 days – the system doesn’t know that you won’t actually be there.
Going in and getting used to how the system works can make you more comfortable and also save valuable time when you are able to make your reservations for real. However, after you are done practicing make sure you cancel the fake FP+ reservations, not only to be nice to the world, but also to not artificially get you closer to the day limit for FP+ (especially important if you are an Annual Pass holder).
When the time actually comes to make your FP+ reservations, you should be organized and have a plan. First, the FP+ reservation opens at midnight eastern time, so if you are in a different time zone you can adjust that time accordingly.
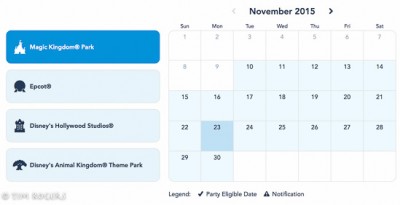
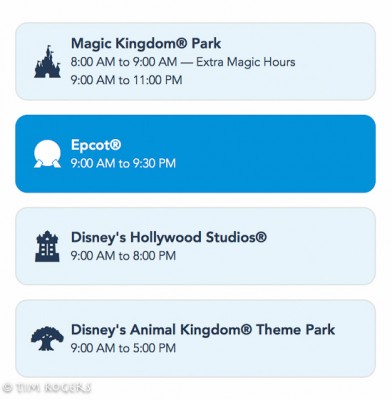
If you have made and dining reservations, that will give you some idea of which parks you will be in on those days of your trip. If not, you will just need to choose – the FP+ system will allow you to pick 3 (and it has to be 3) attractions in a single park in advance. If you need help deciding which park to pick, you can look at the park hours that day, which also show up in the FP+ system.
Part of your strategy then is when to schedule your FP+ on any day. Some people like to reserve their three as early as possible, so they can then add on additional FP+ as soon as possible (more on that later). Others know that they will get to a park right when it opens in the morning, so would rather make all of their reservations for the afternoon in a different park. Additionally, some of that can be situational – if you are arriving in Orlando in the afternoon, you can make reservations for later in the day so you can jump right into the action. A lot of this is personal preference, but just have an idea of what you want to do before you start.
The next thing to think about is if there is a specific hard to get FP+ that is really important to you. If so, it might be easier to get that later in your trip (remember the 60 days+10?). If you are able to make length of stay reservations, there is no rule saying you have to start with the first day and then move to the second – you can easily start at the end and work your way back up.
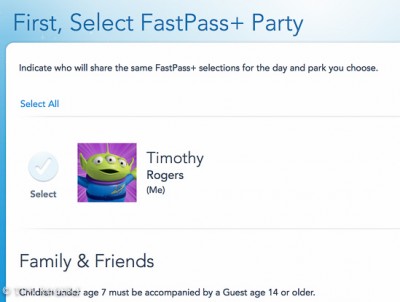
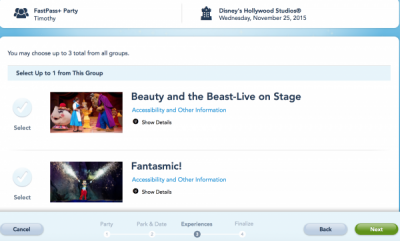
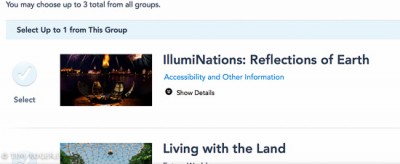
When you are selecting your FP+ reservations on any given day, you will first select the members of your party, and then you will need to select the three attractions you would like. For Epcot and Disney’s Hollywood Studios there are two tiers, with limits on the first tier, so just review that in advance.
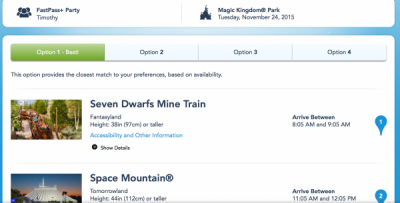
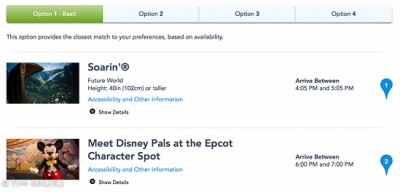
Once you select the three attractions, the system will automatically generate several time choices for you. My biggest advice for you on this is to pick the first option and change it later. None of the options will be perfect, and if you spend a lot of time at this stage trying to fix it you will waste time and get frustrated. So don’t do that.
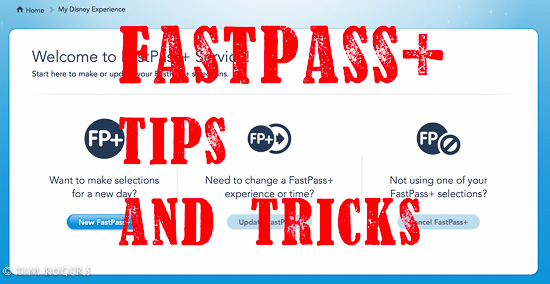
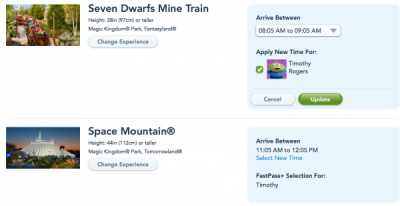
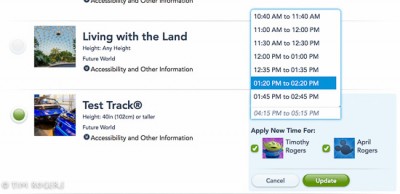
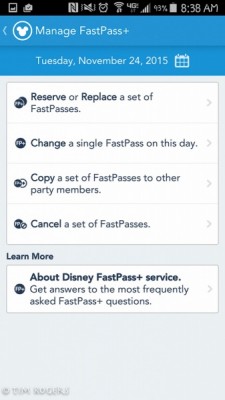
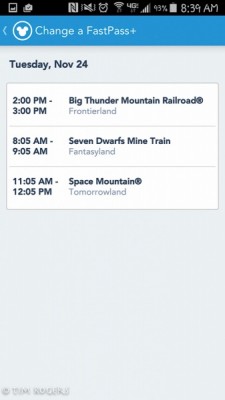
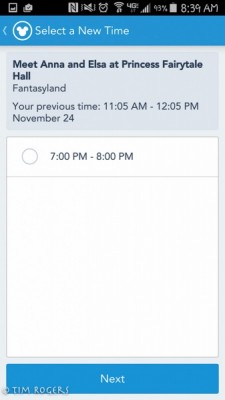
After you have gotten FP+ for each day, then would be the time to go back and adjust individual times. You can select a day to change FP+ on and then select to change either an experience altogether or the time of an experience. If you select to change the time, you can then pick from all available times (that don’t conflict with an existing FP+ reservations). This way you can select a more exact time that fits your vision without trying to have the system guess what that vision is.
Also, remember how this works, because you can go back at any time to move things around.
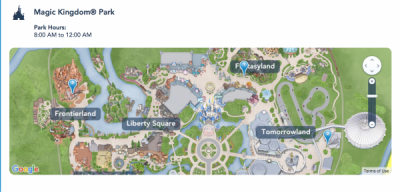
Another valuable feature, especially if you aren’t completely sure where all the attractions are in relation to each other, is the system will show you on a map where your selections are located.
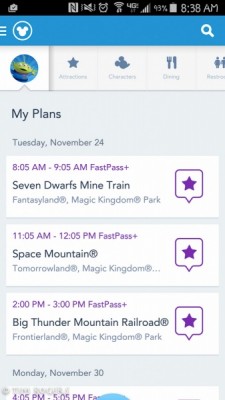
On that note, if you have a smartphone I would highly recommend getting the My Disney Experience app. You can make your FP+ initially from the app (my wife and I had to do this on the fly for one trip after needing to unexpectedly pick up our niece late the night our window opened), but more importantly can adjust FP+ on the fly while you are actually at Walt Disney World.
Here’s a few ways that can work – on a recent trip we had a FP+ for Splash Mountain. However, when we got there the standby entrance was listed as 15 minutes, which for Splash Mountain generally means you can walk right on. As such, using a FP+ on that didn’t seem like the best use so we went standby, and in the few minutes we had to wait I was able to change that FP+ to a different attraction.
The other incredibly valuable use for the app is for the 4th (or more) FP+. Once you use your initial three, you can go to one of the kiosks in any park and make an additional FP+ for that park. This does not have to be in the park you started in, but you have to be in the park you are making the new reservation for.
An important note – you have to currently go to a kiosk to add this additional FP+, but once added you can change it in the app. This is incredibly valuable, because FP+ availability changes constantly, if you refresh the new experience screen it will likely be different every time. Using this method, I have been able to add several hard to get FP+ late in the day, and not have to spend a lot of time at a kiosk doing so.
This brings up another important point, if something you want to schedule isn’t available when you are first making reservations, you can always check back later. Sometimes things open up later on, or because of scheduling they haven’t been released yet (this has been most historically true with parades and fireworks).
While it might seem counter-intuitive after writing this much, but my biggest advice on FP+ is: don’t stress about it. FP+ will allow you to have a few reservations before you arrive, but they are not set in stone, and whatever they end up being, they will be at Walt Disney World – what could be better than that?
Do you have a good FastPass+ tip? Share with us in the comments.
