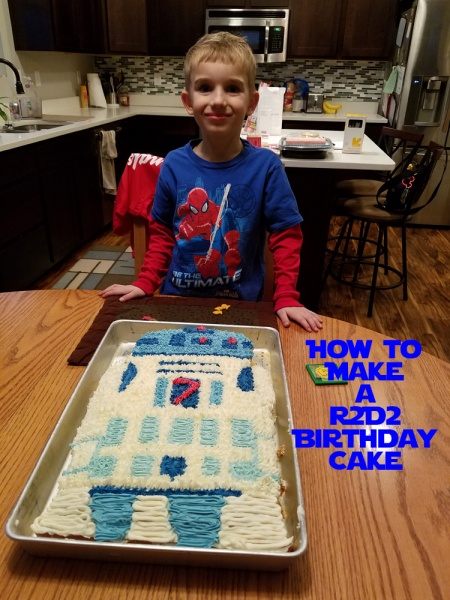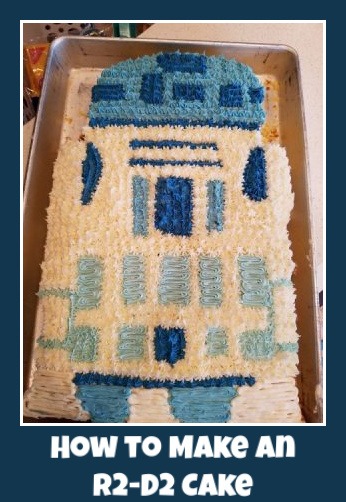
Every year I let my kids choose their birthday cake. This year my son wanted a R2D2 cake and informed me it would be easy. Here is how I went about making this specialty cake.
Items needed:
- Three boxes of cake mix
- Three to four cans of white frosting
- Blue and red food coloring
- Large cake pan
- Cake decorator and flower tip
To start I used three boxes of yellow cake mix in a large cake pan and followed the cooking and baking directions on the box. I do always make sure that I grease the pan with crisco and flour but I also use spray such as Pam. I really want to ensure that it won’t stick.
After baking the cake and letting it cool for around a half hour in the pan, I then flipped it onto a cooling rack to let it finish cooling. Making sure to let the cake cool for a few hours and then I wrapped it in plastic wrap before placing it in the freezer for an hour or so. I have found that this greatly helps the cutting and designing process as the cake seems to cut easier as well as doesn’t flake and crumble as much.
As the cake was in the freezer, I spent time sketching out the outline for R2D2. I took a bigger white sheet of paper and cut it to the size of the cake and from there drew the outline of R2D2. Now I am my no means an artist but after many attempts, my husband informed me it was good enough for a 7 year old birthday. I then cut around the outline and got the cake out of the freezer.
Placing the outline on top of the cake, I used just a normal butter knife to cut around the R2D2 outline. Following this process, I then put on a base layer of frosting onto the cake. This is just a simple layer of white frosting to help prevent as much crumbling while decorating as possible. I always was so frustrated with frosting as I would get cake crumbs everywhere. By doing a base coat of frosting and then putting it in the fridge for a while I have had less problems with cake crumbs.
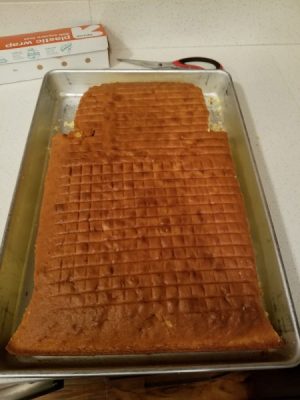
After cutting R2D2 out
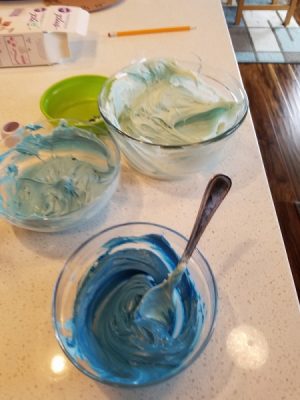
Different colors for decorating
While the cake was in the fridge, I mixed up the different colors of blue I would need in the decorating process. For this step I used one container of white frosting. I started by mixing a light blue then scooped out around half of the now light blue and added more dye to make it more of a medium blue. Again I separated out some of the medium blue and then added more dye to make the dark and final blue. This made the different blues almost perfect. The only other color I needed was plain white and a small amount of red. I was now ready to decorate.
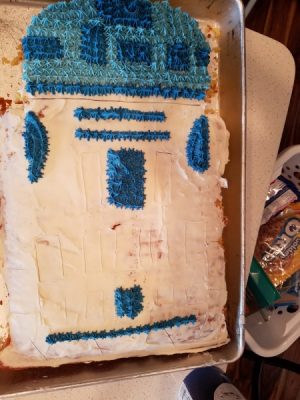
Marking Buttons
I used the flower tip of my decorating tool for the whole decorating process. Before starting the actual decorating, I marked on the cake with a toothpick where I wanted to make the different buttons and details on R2D2. Making these marks on the white frosting made the decoration process so much easier.
I started with the dark blue and worked my way to the lightest blue competing each one all the way before moving on. After the blues were finished, I did the white and then the small red parts as needed. I was actually pleasantly surprised at how easy this was to decorate. I only needed one style of decorating tip and moved quickly through the process. Compared to the Jake and the Neverland Pirates, Cinderella and Dora cakes this was easy just as the birthday boy said it would be.
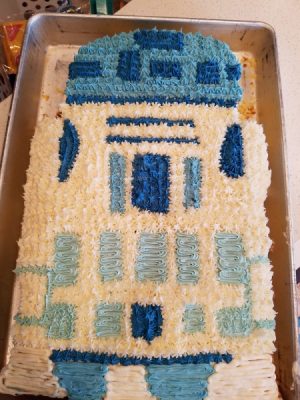
Finished Cake
Tips for cake decorating:
- Place baked cake in the fridge or freezer once cooled to help with cutting
- Complete a “crumb coat” of frosting prior to decorating
- Mix up all colored frosting needed prior to decorating to help with color matching and speed2
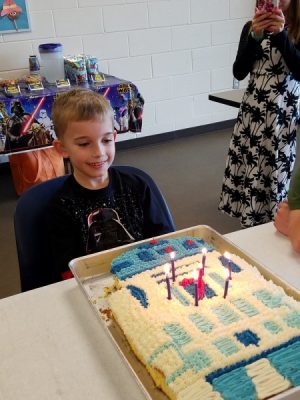
Birthday boy
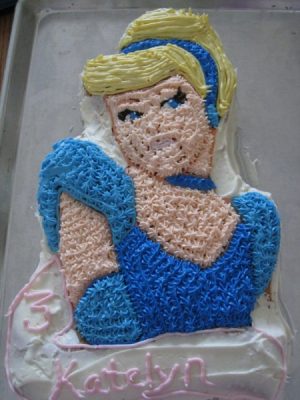
Previous birthday cake
Have you ever made a character cake? What tips do you have? Share them in the comments.
Did you like this article? Make sure to share it with your friends! Check below for easy ways to share!
Incoming search terms:
- https://www themouseforless com/blog_world/how-to-make-a-r2d2-cake/
- r2d2 cake
