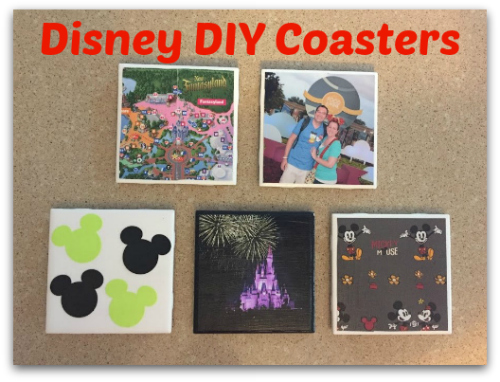
A great way to capture Disney memories is by creating your own Disney coasters! The next time you set down your glass, you can smile as you think back on those great memories. These coasters are so easy to make and with a few simple steps, you will have your own special Disney coasters!
Disney inspired coasters are a great way to display some of those memories from a trip! There are so many different ways you can make the coasters and I want to show you some recent ones I have made.
Step One: Gather all your supplies
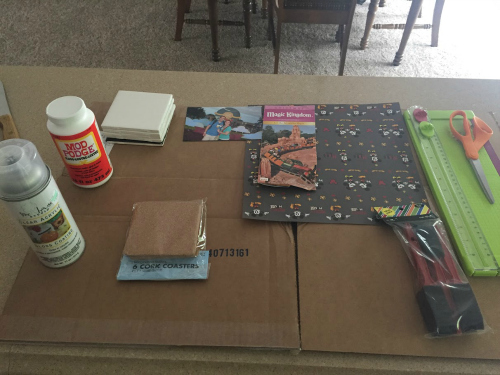
- Mod Podge
- Coasters
- Clear acrylic gloss coating spray
- Cork
- sponge brushes
- Pictures, scrapbook paper, maps, etc
- Scissors
- Optional: straight edge cutter
- Hot glue gun
- Cardboard
- Ruler
The coasters I used are actually tiles. I was looking all over for ceramic coasters for a reasonable price and I wasn’t finding what I wanted. Then I went to my local home store and went to the tile section. These tiles are 4 X 4 in size and perfect for a coaster. They were only 16 cents each!
Step Two: Attaching your item to the coaster
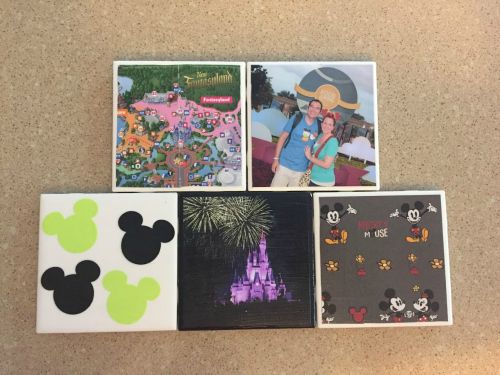
Be creative when deciding what you want to use on your coaster! The items I ended up using are, a couple pictures, a map, mickey head confetti, and Disney scrapbook paper. Some other ideas: bags, parade confetti, old paper tickets or fastpasses, stickers, bookmarks, and the Sorcerers of the Magic Kingdom cards. These are just a few ideas, there is so much you can do!
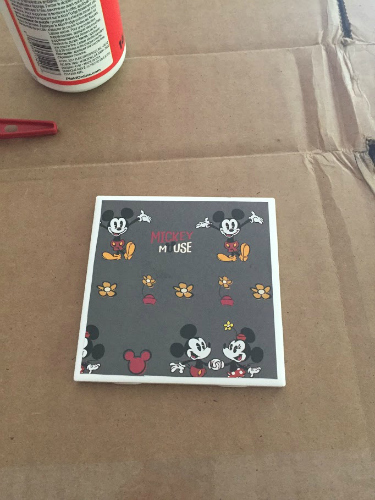
The first coaster I decided to do was the one using the scrapbook paper. I used this as my test because my paper was larger and if I messed up I could just cut out a new square.
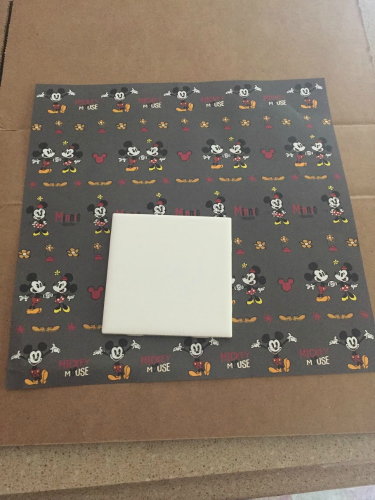
When you are measuring, you will have to decide if you want your item to go all the way to the edge, over the edge, or not go all the way to edge to create a boarder.
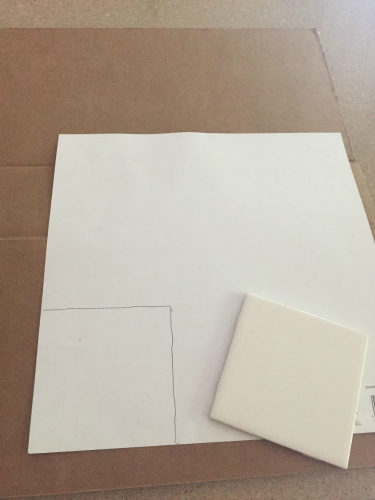
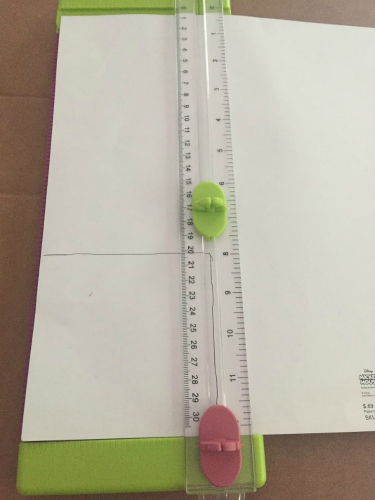
I used a straight edge cutter on the scrapbook paper to make a straight edge.
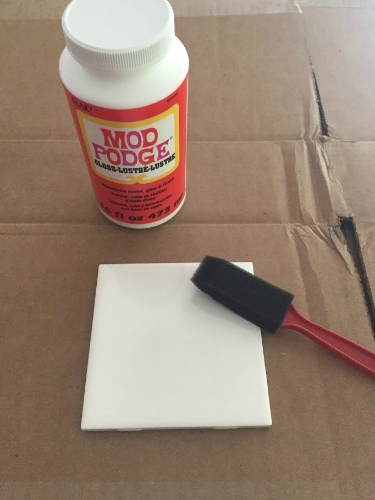
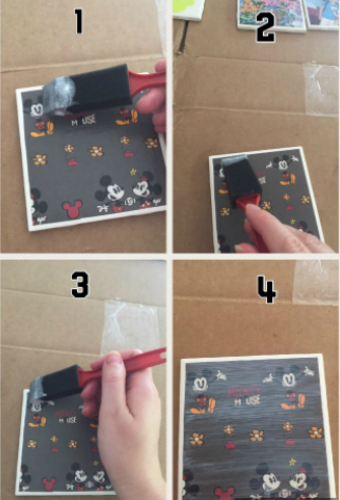
Grab the mod podge and the sponge brush.
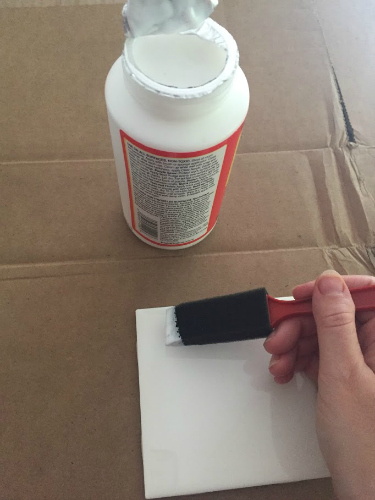
You will want to put on a thin even coat on the front of the coaster. This will dry clear, so if you are doing what I am doing and making a border, you won’t see it when you are done. Make sure the mod podge doesn’t clump up, you want it to be smooth.
Before the mod podge dries, you want to lay your item on top. You will want to work quick before it starts to dry and you can’t move your item around in place.
Let this dry for about 5 minutes. The next step you want to do is add the mod podge on top of your coaster. I put three layers on mine to just make sure it was securely in place. Grab the sponge brush again and the first layer either go horizontal or vertical. The second application will be the opposite direction. For the third layer, you will do the same way you did the first application. Between each application, let the mod podge dried.
It is slightly nerve racking putting the first layer on the coaster because you can see the mod podge, but don’t worry, it dries clear! Between each application, I waited around 5 minutes. You will be able to tell when it’s dry when that layer is clear. Make sure the layers of mod podge are thin and smooth. If there are any drips on the side that are clumpy, just take a paper towel and wipe it off.
Once the third and final layer is on, let the coaster sit for 3 days before continuing to the next step.
Other coasters I made:
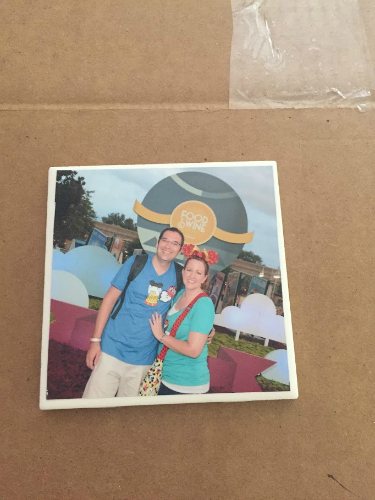
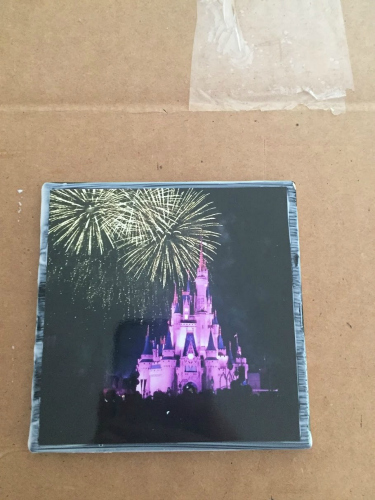
Pictures are great to add to coasters so you can have your memories close by. I picked a couple pictures from a recent trip from Disney Food and Wine and Disney Wishes nighttime firework show (Rest in Peace!). Remember the mod podge dries clear, your pictures will come out glossy when it dries.
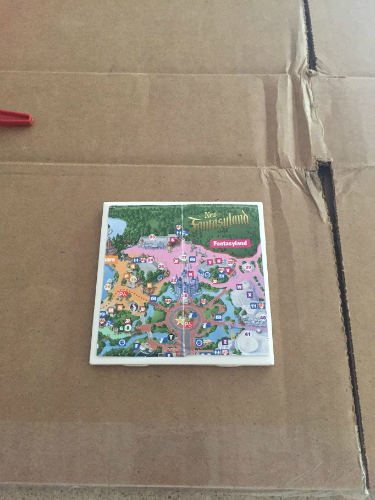
A park map was another item I wanted to use. I used an older one from Magic Kingdom.
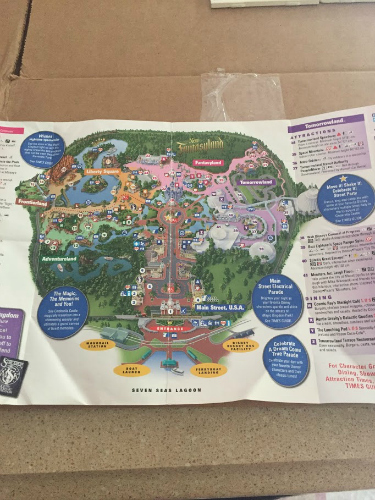
I knew I wanted to have Cinderella Castle in the middle, so I sat the coaster on top of that section and drew around the coaster.
The last item I used was Mickey head cut outs. I have a Mickey head hole punch and I decided to use card stock paper. Maps or pictures are a couple other options to use as cut outs.
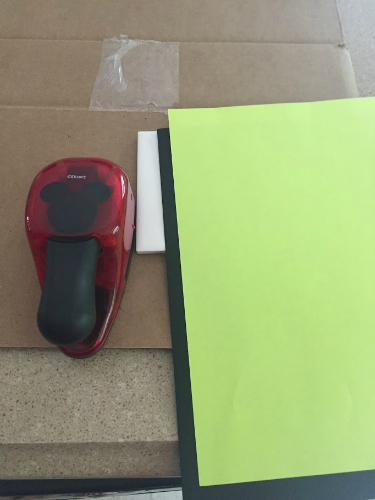
Here is something good to note. When I layered my mod podge on the coaster to place the Mickey heads on top, I let it dry a little too much and one of the head I could not get quite where I wanted it. It still turned out really cute, but this is something to be careful.
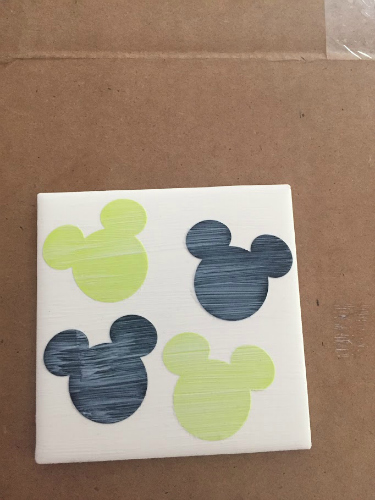
Whatever items you use, follow the same steps as above when applying the mod podge and make sure you allow the coasters to dry for three days before continuing on to the next step.
Step Three: Applying the gloss coating
To make my coasters even more secure, I decided to add a clear acrylic gloss coating spray. This will help protect your coaster when you have a glass that has condensation.
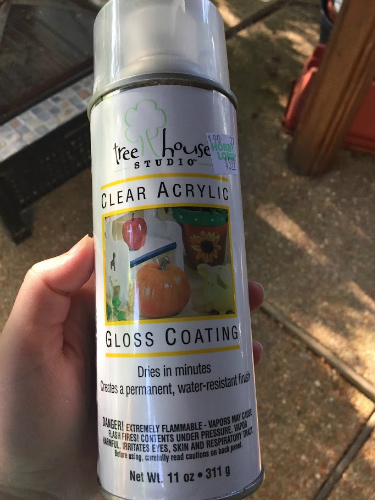
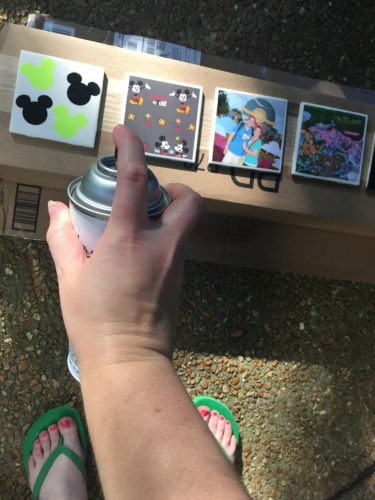
Make sure you have a well ventilated area or go outside to spray the clear acrylic. I put the coasters on a box outside to make it easier to get an even coating and not get it on the surrounding area. For the first coat, spray an even coating on the coasters. Wait two to three minutes to allow the acrylic to dry. Spray a second coat the same way.
Allow the acrylic the dry for 24 hours.
Step Four: Applying the cork
Unless you bought ceramic coasters that have cork already on the bottom, you will need to apply cork on the bottom to protect the surface you set the coaster. I found a pack of coaster cork that was pre-cut in a 4X4 size. If you can’t find those, you can use a sheet of cork and cut it to the size you need.
Grab your hot glue gun and heat it up.
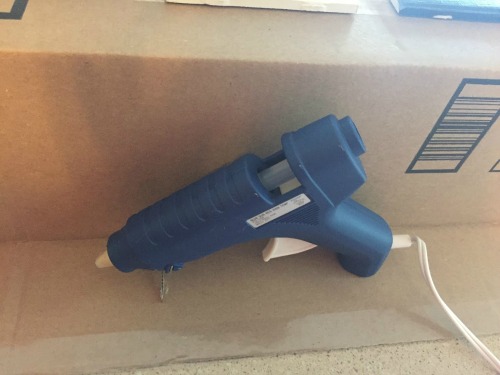
Run a bead of hot glue around all four edges of the cork and a line diagonal down the middle. Very carefully, turn the cork over and place on the bottom of your coaster.
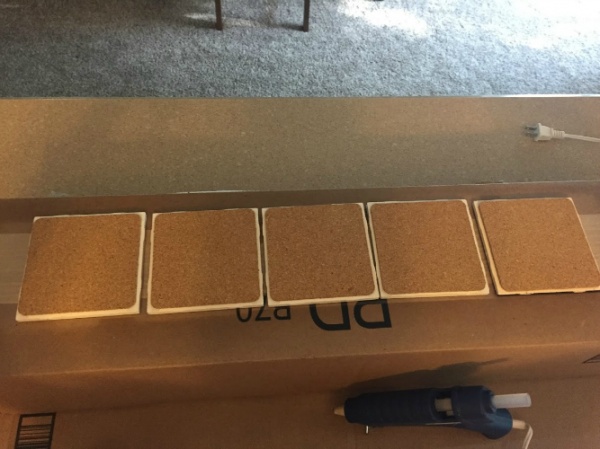
Your coasters are now ready to be used! The next time you set your glass on your coaster, you will be able to look down and smile as you think about a special Disney memory.
Did you like this article? Make sure to share it with your friends! Check below for easy ways to share!
Incoming search terms:
- https://www themouseforless com/blog_world/how-to-make-disney-inspired-coasters/
