How to make a Mickey Piñata
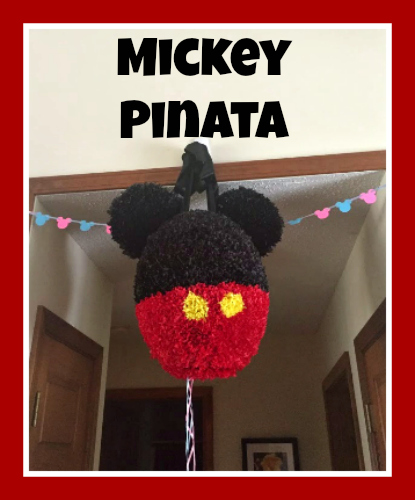
When my husband and I found out we were expecting our first child, I started thinking about the gender reveal party and how I could make a fun reveal and also incorporate my love of Disney. I came up with a Mickey piñata! The idea behind it is, we would stand underneath it and pull a string and the color of the gender would fall out around us. If you are feeling crafty and want to make your own Mickey piñata, follow the steps below!
Supplies:
-Balloon
-4 paper plates
-Tissue paper
-Water
-Flour
-Salt
-A bowl and whisk
-Newspaper
-White Glue
-A pencil
-Ribbon and or string
-The item(s) you want to stuff inside
Step one: How to paper mache
I haven’t made paper mache since I was in elementary school so I had look this one up. There are a few different recipes you can use, but I picked the easiest one I thought I could do. I mixed 1 part water with 1 part flour with a small amount of salt. The salt is to keep bugs out of your piñata. For the first round I ended up mixing 4 cups water with 4 cups flour and a dash of salt. This ended up being more than I needed, but I was able to put it in the fridge and keep for the next round. Take a whisk and stir up your mix. It should be about like pancake batter and a little on the runny side.
Step Two: Adding the paper mache to the balloon
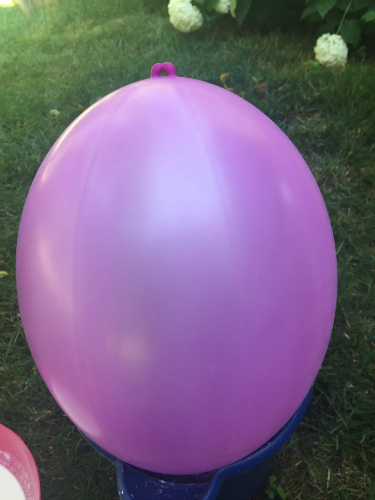
I had set out to make a perfectly round balloon and as you can see, I did not accomplish this. When I looked online, it said to use a punch balloon to get a round shape as opposed to egg shaped. I bought some punch balloons but when it was blown up to the size I wanted, it was egg shaped. Oh well I still think it turned out great. The punch balloon was actually nice to work with because it was thicker then a normal balloon.
Now is where it gets messy! I had a really beautiful day to work on this so I sat outside in the grass. Make sure if you are inside, you lay something down you don’t care if you splatter paper mache all over.
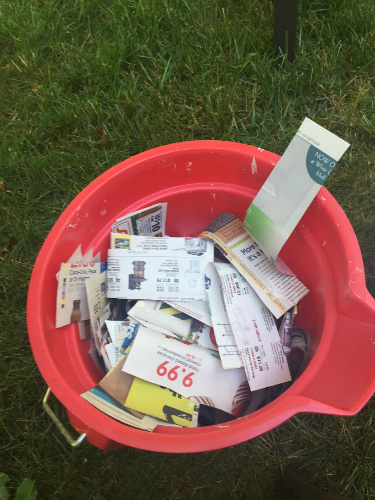
Before I started, I had cut strips of newspaper out and put them in a bucket. I’m not really sure how much I did, I know I had way too many though. I just eyeballed the cuts. I was going for a width of about 1 inch to 1.5 inches.
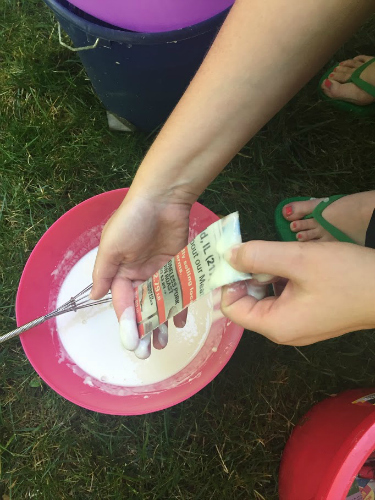
Grab a piece of your newspaper and dip it in the paper mache. Run the paper through two fingers to push off all the excess paper mache. I learned the hard way on my first attempt and it was way too thick. You want a thin layer.
Put the piece of paper on the balloon. I worked from the top to the middle. I went all the way around the top half and then flipped it over and went all the way around the bottom half. The balloon had a little top knot on top of the balloon, so I left that exposed and when the paper mache dried, I could pop the balloon.
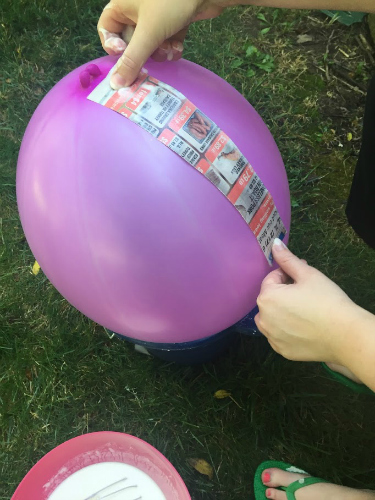
I let my Mickey piñata dry in a bucket overnight. After it is completely dry, I put on 3 more layers. Make sure to let each layer dry before putting on the next. I wanted to make sure the Mickey piñata was strong and wouldn’t break easily.
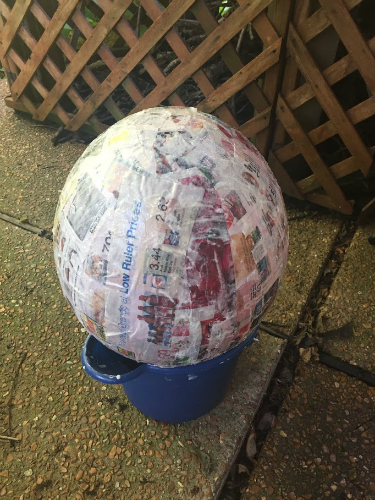
After you have all the layers you want on the piñata and it is completely dry, you will want to pop the balloon. I used the top knot that was on top of my balloon, but you could also use the part at the bottom where you tie the balloon shut.
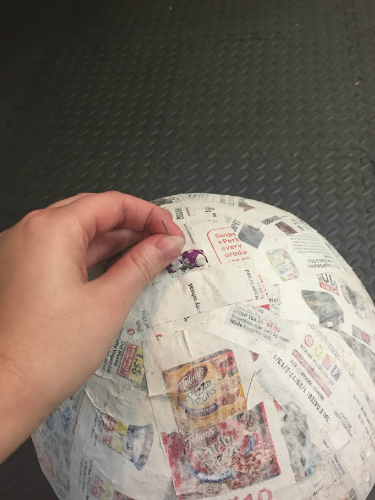
Step 3: Getting your Mickey piñata prepped for decoration
For my Mickey piñata, I wanted to create a door at the bottom that could be pulled open so the confetti would fall out. You could easily just cut out a small little door at the bottom and fill with candy and break with a bat if that is the type of piñata you are wanting to make.
I got the help from my husband with this next part because I was having problems getting the door to open and shut. Originally we tried to just make a door in the bottom but it wasn’t opening and shutting like I wanted.
Another problem we were having was the confetti was wanting to stop on the side of the balloon and not fall straight down. I grabbed a large oatmeal container and we were able to cut out a hole and push that through the end of the Mickey piñata and held it secure in place with duct tape. This allowed the confetti to just fall straight down.
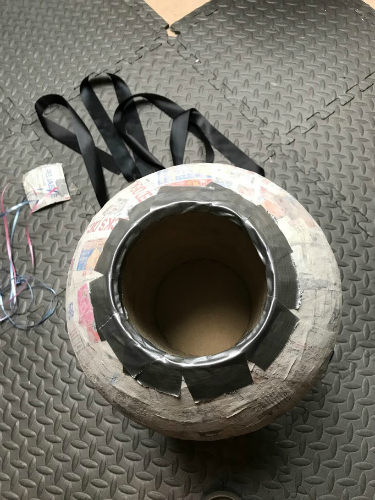
Next I needed a door that is able to be pulled open by string. I decided to use card stock because it would give me a sturdy yet flexible base to work with. The only issue I have is that it makes a flat bottom but overall this still worked really well. In the card stock door, I added pink and blue ribbon. I decided on pink and blue because of our gender reveal theme. With the door, you need to not only cover the actual hole, but have a little “hinge” to allow the door to open and shut and also a latch. I used scotch tape to hold the latch close so it could be easily pulled open.
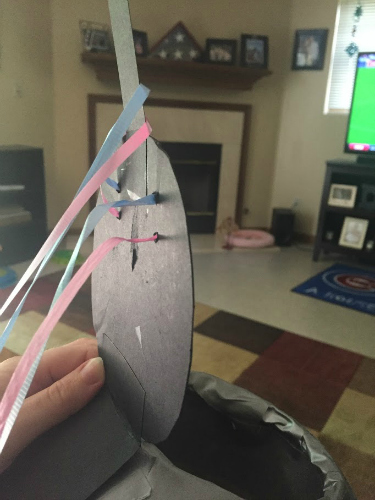
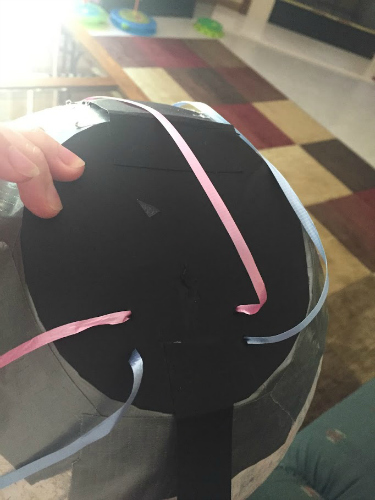
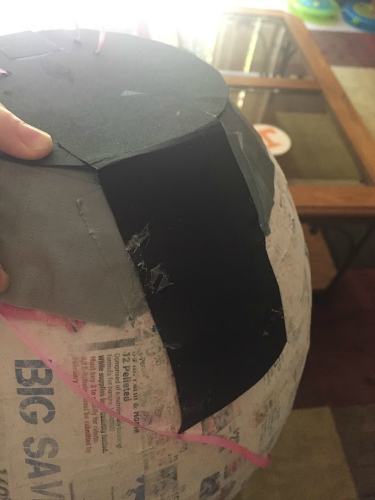
Before you start decorating you also need to add a ribbon so you can tie your balloon up.
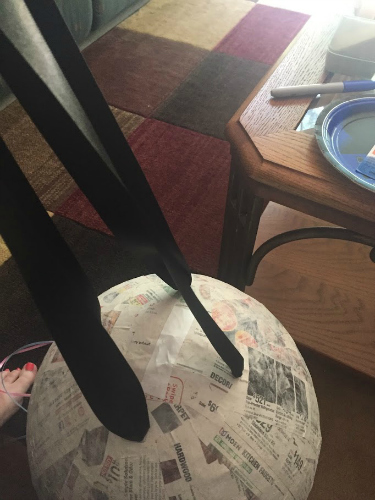
We poked 4 holes evenly around the top of the balloon– make sure you don’t put them too far down because you will be attaching ears!
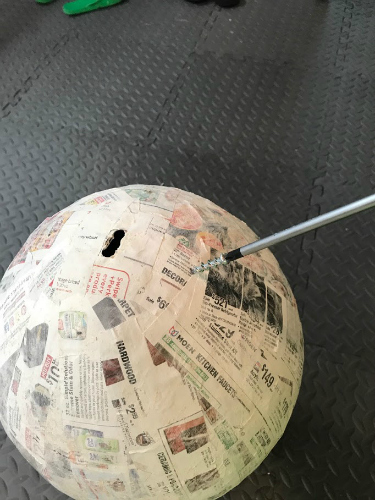
After the holes are poked through, string your ribbon through it. I took two long pieces of ribbon and did one piece through two holes and the other piece through the other holes.
Step 4- Adding the Ears
The ears were my biggest issue I would say I came across. My first attempt at my Mickey piñata was a fail. I had taped 2 smaller balloons to my bigger balloon to make the ears. I tried to paper mache it all and it just wasn’t working. Between having too thick of paper mache and the ears not being taped down good enough, they started to droop to the side.
After some research, I decided to use smaller size paper plates. I opted to not paper mache them because of my disaster before, but this could probably easily be done.
Take two of the plates and face them together and tape half way around.
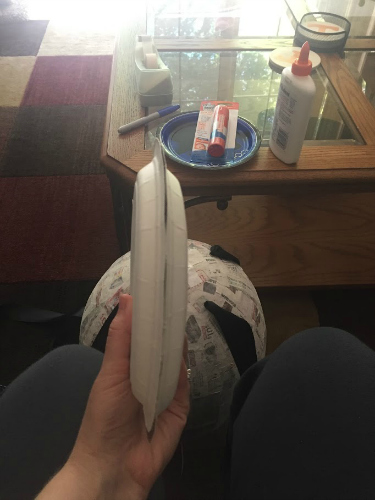
After both ears are taped together, you will want to cut the bottom into tabs and fold them back. This is so it can be attached the base of the piñata.
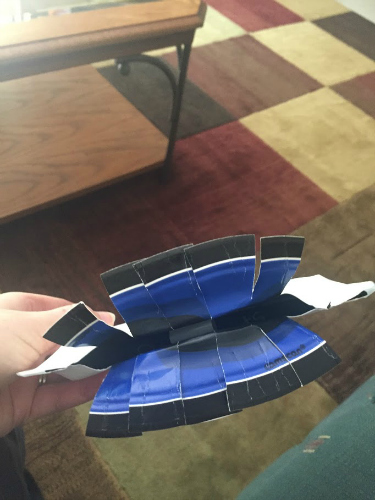
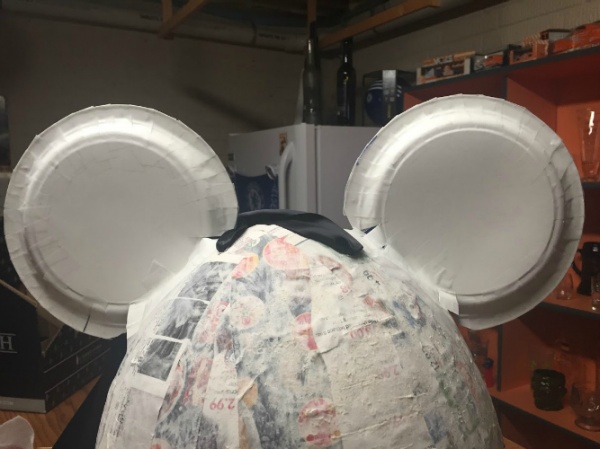
With some help from my husband, I lined up where I wanted the ears to be on the base and taped them on. I just used regular scotch tape. I probably should have used masking tape because later on when I needed to glue, the slick surface of the tape made it hard to stick my tissue paper.
Step 5: Drawing the buttons and pants line
For my Mickey piñata, I wanted to make the top part black and the bottom part look like Mickey’s pants. I took a string and wrapped it around the piñata. I went a little lower then the mid line and I taped it on so I could draw a line around it. Remove the string. Then I took a couple of tea candle holders and drew the “buttons”. I was initially afraid these were too big but I think it was actually perfect. Does anyone else think the front of the piñata looks like Harry Potter?
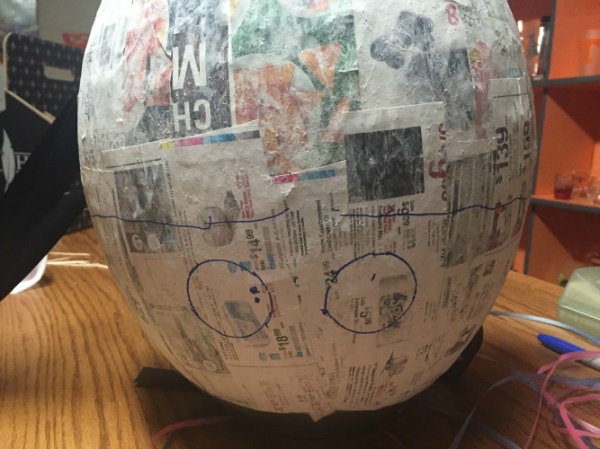
Step 6: Decorating the Mickey piñata
Now comes the fun part—and also the most time consuming!! I had a specific look I wanted to make for the piñata. There are different ways you can attach your tissue paper, so if you don’t like the look I made, you can play around with it.
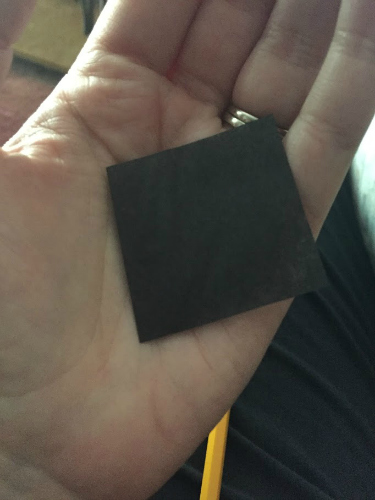
I cut up a ton of tissue paper squares, about 1.5 inch by 1.5 inch. I don’t know exactly how many I cut, but I know I used 3 packages of black tissue paper that held 8 sheets, 2 packages of red that held 8 sheets, and 2 sheets of yellow.
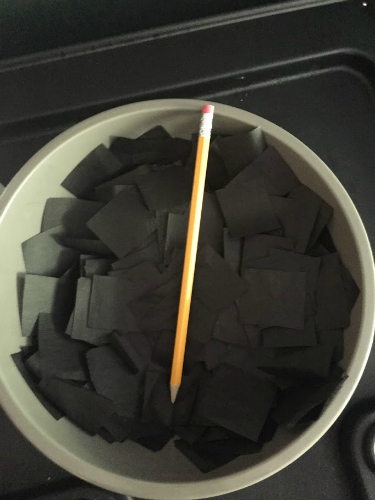
You will need a pencil and some regular white glue to add the tissue paper. Grab your first square and place it in the palm of your hand. Take the end of the pencil (either eraser side or non sharpened side) and wrap the square around the pencil.
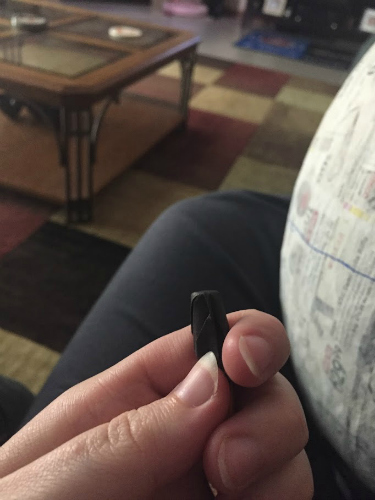
Add a small amount of glue to the tip and then place on the piñata. I opted to start with the black and work from my bottom line up to the top.
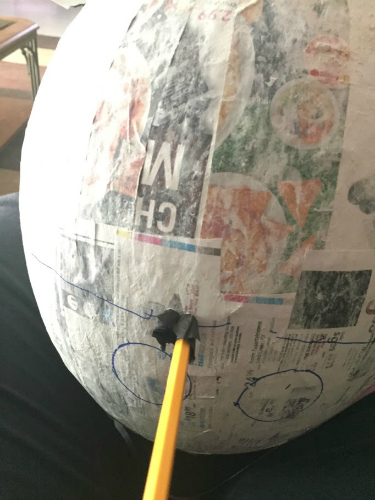
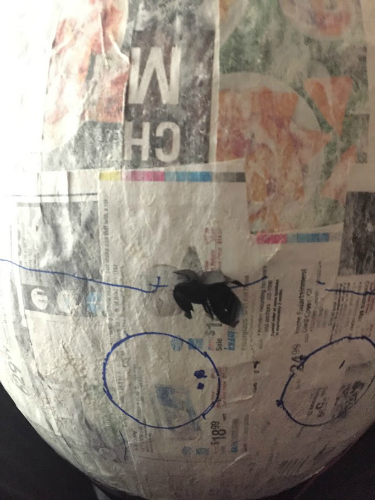
I kept going until I reached the ears. The reason I stopped at the ears was because I knew I would be turning it around and I was afraid I would bump them.
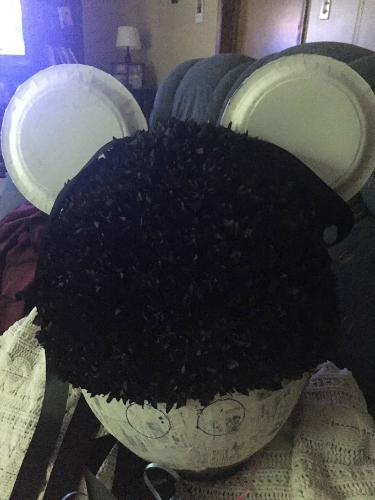
After I got the black done, I added the yellow “buttons”.
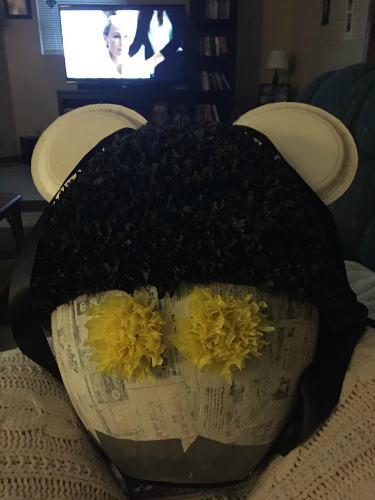
Then proceed to the red and go all the way around. I left the door and latch until last so I could still set the piñata down on a flat service without smashing the paper.
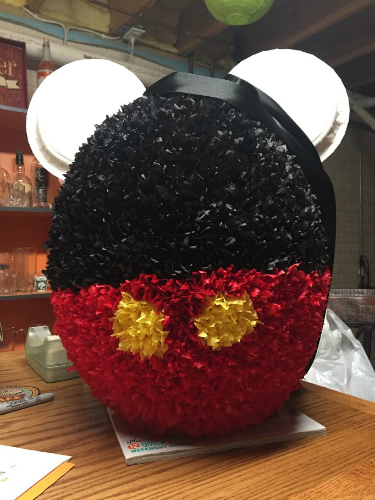
The only thing left to do now is the ears and the door. I would say this was probably the hardest part for me. I ended up laying the piñata on it’s back to do the ears because gravity was wanting to have the squares fall off.
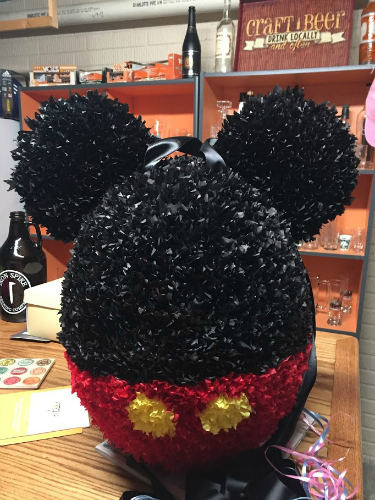
Now you are done decorating! For me, this took a really long time. I wouldn’t change anything because the look was exactly how I wanted it but just warning you because this does take a while to complete.
Step 7: Hanging the piñata
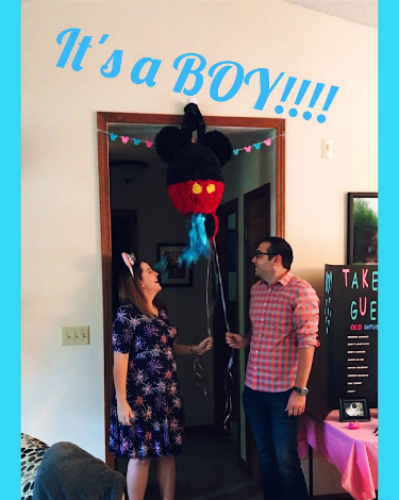
Now comes the best part—hanging the piñata!!! We originally wanted to hang it from a tree but it was calling for rain that day, so we improvised and hung it up on a hook in a doorway. It actually turned out really good! I tied the 4 ends of the ribbon together and made a bow and slipped it over the hook.
After it was up, the pink and blue strings hung down for us to pull and do our big reveal!
WE ARE HAVING A BOY!
Whether you are using the piñata for a birthday party, reveal party, or just because- I hope you have a great time! Please visit the Mouse for Less for other craft ideas, help with planning your next trip, new stories, recipes, and so much more!
Have you made a Mickey piñata before? What tips do you have? Also, what fun Disney ways have you incorporated into your gender reveal? Share both in the comments!
Did you like this article? Make sure to share it with your friends! Check below for easy ways to share!
Incoming search terms:
- https://www themouseforless com/blog_world/how-to-make-mickey-pinata/
- How to make a Mickey Mouse ears piñata
- how to make a pinata mickey mouse
- how to make a mickey mouse pinata
