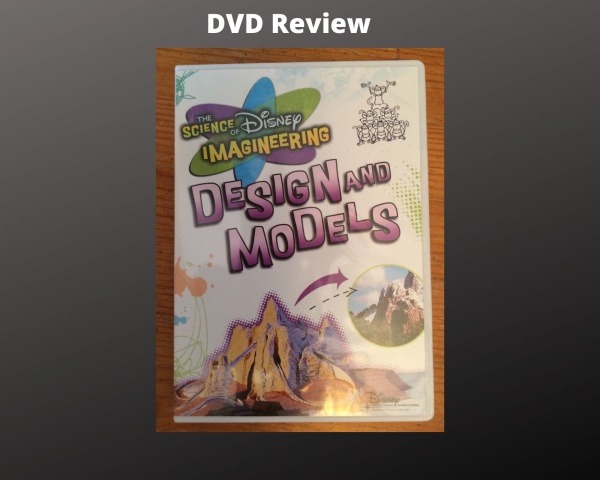
The Science of Disney Imagineering: Design and Models
One of my daughter’s birthday presents was a set of DVDs called The Science of Disney Imagineering. My daughter had already received one of these, with the subtitle Trajectory, from her grandparents. We all enjoyed that so much that we were looking forward to watching the next ones!
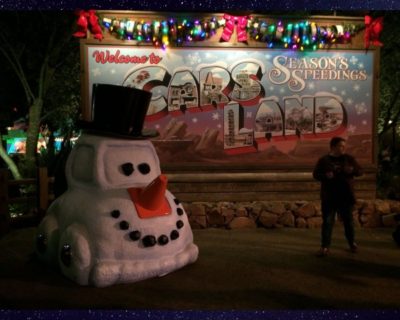
Cars Land was designed using 3-D printed models and a virtual reality lab
All the Science of Disney Imagineering DVDs follow a similar format. Our host is Asa, who teaches us all about a scientific principle using animation and Disney attractions as examples. Each DVD is intended to be educational, and was designed for use in a classroom, although my family loved watching them at home. I imagine these DVDs would also work very well in a homeschool setting.
Included in each DVD’s bonus features are an experiment that kids can do, and a multiple choice test on the subject. If you answer a question incorrectly, a short clip from the DVD is shown to remind you of the correct answer, and you’re given a second chance.
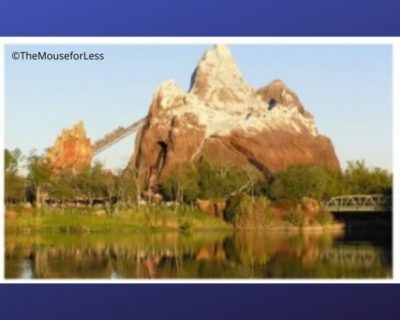
A 4-D computer model was used to design Expedition Everest
We decided to start our Imagineering binge with Design and Models. This topic was absolutely fascinating to me. We learned how good design can only come about if a team identifies a need, looks at any limitations they may be constrained by, brainstorms ideas, and then first tries out their idea on a smaller scale. This is where models come in.
To further explore this idea, we’re taken to Animal Kingdom, where Asa spoke with legendary Imagineer Joe Rhode about the design on Expedition Everest. Then other Imagineers showed up how they used 3D printing technology to make a scale model. Another Imagineer showed us how they made a 4D model on a computer, because they needed to figure out in what order each component needed to be built.
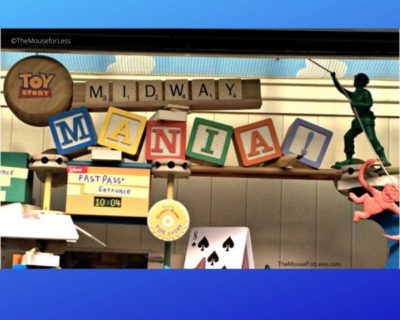
Toy Story Midway Mania was playtested before it was built
After that, we were whisked across the country to learn about how Toy Story Midway Mania was designed for California Adventure. Since this ride is interactive, parts of the ride were playtested again and again. Through this process, Imagineers were able to come up with a good design for the method by which guests would play the game. My daughter enjoyed seeing the rejected joysticks, button apparatus and swivel guns that were considered before the Imagineers decided on the rope-pull system we all know and love today.
Finally, we’re taken to the design of Cars Land. Not only were scale models built, but a virtual reality lab was used to determine what parts of the park guests would see when riding Radiator Springs Racers. Since Imagineers wanted guests to be completely immersed in the ride, they determined where they had to build rock formations to block guests’ views of other park “lands.”
The experiment on this DVD involves building a simple bridge and then testing it to see how much weight it could bear. Using that information, you can rebuild the bridge a different way to see if you can get it to bear more weight.
I think this was my favorite of all the Science of Disney Imagineering DVDs because of the peek into the design and modeling process Imagineering uses to build our favorite attractions.
Did you like this article? Make sure to share it with your friends! Check below for easy ways to share!
Want to visit the Walt Disney World Resort? Contact The Magic for Less Travel for more information and a free, no-obligation quote.
Incoming search terms:
- https://www themouseforless com/blog_world/the-science-of-disney-imagineering-design-and-models/
- what materials are used to build a disney scale model
