Now that you’ve decided to customize a kid’s ID for your child, what do you do? Following the instructions below you will be able to customize a kid’s ID for your child.
1. Click on either the ID sheet or the ID kit below the design you like. A Microsoft Word document will open. You should see a document open with whatever design you chose (figure 1).
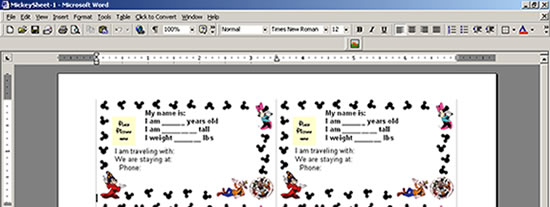
figure 1
2. Click immediately behind “My name is:” and the text box will be highlighted (figure 2). Type in your child’s name, replace the underscore with the appropriate information
(figure 3).
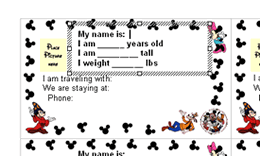
figure 2
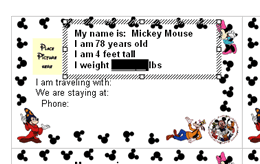
figure 3
3. Click immediately behind “I am traveling with:” to get to the next text box. Type in the appropriate information (figure 4).
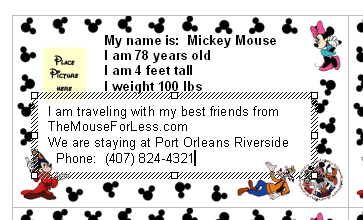
figure 4
4. If you have a photo of your child that you would like to include, click on “Place Picture Here” and the text box will be highlighted (figure 5). Go to
Insert->picture ->from file and insert the picture you would like to include (figure 6).
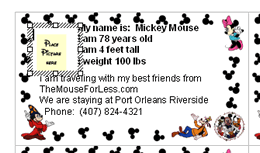
figure 5
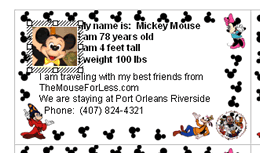
figure 6
5. Repeat steps 1 – 4 for other IDs
6. If you have chosen the “kit”, scroll to the luggage tag. Click immediately behind “Name:” and the text box will be highlighted (figure 7). Type in your address and phone (figure 8).
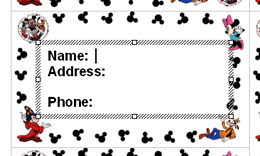
figure 7
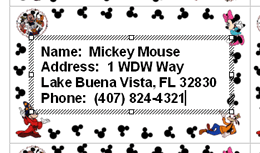
figure 8
7. Scroll to the school/vacation/anything tag. Click immediately behind “Name:” and the text box will be highlighted (figure 9). Type in your information (figure 10).
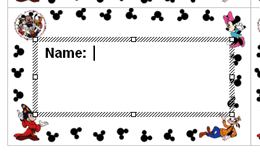
figure 9
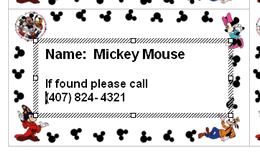
figure 10
>8. Choose print to print your completed sheet.
9. Open the corresponding document for the back side (figure 11).
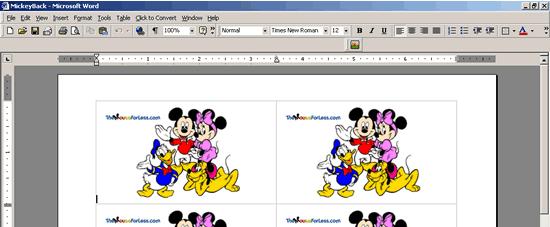
figure 11
10. Put the printed sheet back into the printer, making sure the correct side is up. Choose print to print the back side.
11. Cut the tags and either laminate or put in luggage tag pouches.
12. Enjoy and have a Magical Vacation!

